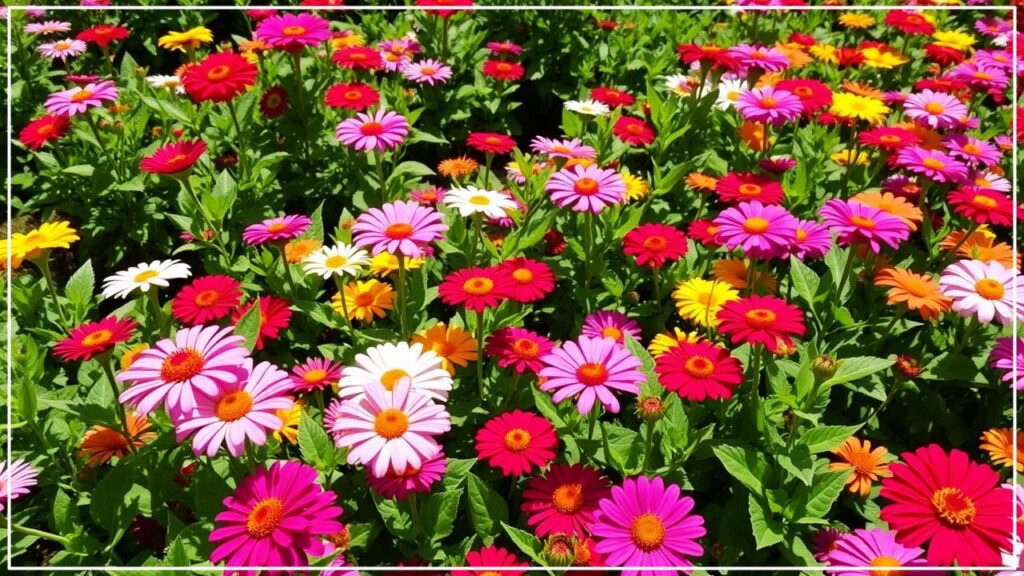
Zinnias, with their kaleidoscope of cheerful colors and resilient nature, are the darlings of the summer garden. These beauties bring an almost instant burst of joy, attracting pollinators and providing endless bouquets from midsummer until the first frost. Yet, even these seemingly easy-going flowers can present challenges. If your zinnias aren’t living up to their full, glorious potential, you might be making a few common Zinnia growing mistakes.
But don’t fret! As a long-time horticulturist, I’ve seen them all, and the good news is that most are easily remedied. This guide will illuminate those subtle missteps and empower you to cultivate the most vibrant, healthy zinnias you’ve ever grown, transforming your garden into a true summer spectacle. Let’s dive in and get those zinnias thriving!
Quick Wins for Radiant Zinnias
Short on time? Here’s what you need to know to avoid common Zinnia growing mistakes:
- Sun is Non-Negotiable: Ensure at least 6-8 hours of direct sunlight daily.
- Soil Matters: Plant in well-drained soil enriched with compost.
- Water Wisely: Water at the base of plants, deeply and less frequently, allowing soil to dry slightly between waterings.
- Give Them Space: Proper air circulation is key to preventing fungal diseases.
- Deadhead Diligently: Snip spent blooms regularly to encourage continuous flowering.
Mistake 1: Planting in the Wrong Location (Not Enough Sun!)
Zinnias are sun worshippers, plain and simple. One of the most frequent Zinnia growing mistakes I observe is underestimating their need for abundant sunshine. Without at least six to eight hours of direct sunlight each day, your zinnias will likely be leggy, produce fewer flowers, and be more susceptible to diseases. They really do crave that full-blast summer sun to perform their best.
The Fix: Follow the Sun
- Observe Your Garden: Before planting, map out the sunniest spots in your garden. Watch how the sunlight moves across your space throughout the day.
- Choose Prime Real Estate: Select a location that receives unfiltered, direct sunlight for the majority of the day. Southern or western exposures are often ideal. In my own cutting garden, the zinnias that perform like champions are always those in the sunniest, most open beds.
- Container Solutions: If your garden is mostly shady, consider growing zinnias in containers. This allows you to move them around to chase the sun or position them on a sunny patio or balcony.
According to the University of Maryland Extension, full sun is critical for vigorous growth and optimal flowering. Remember, more sun equals more blooms!
Mistake 2: Poor Soil Preparation and Drainage
Zinnias are adaptable, but they draw the line at heavy, waterlogged soil. Planting in compacted clay or soil that doesn’t drain well is a recipe for root rot and other Zinnia problems. These conditions stress the plants, making them weak and inviting disease. They appreciate a good foundation, just like any prized garden resident.
The Fix: Amend and Aerate
- Improve Drainage: If you have clay soil, amend it generously with organic matter like compost, well-rotted manure, or shredded leaves. This improves soil structure and drainage. I make it a rule to incorporate at least two inches of compost into my zinnia beds each spring.
- Raised Beds or Mounds: For chronically damp areas, consider planting zinnias in raised beds or on slight mounds. This elevates their roots above the saturated soil.
- Soil Test: While not always necessary for zinnias, if you’ve had persistent problems, a soil test can reveal nutrient deficiencies or pH imbalances. Zinnias prefer a soil pH between 5.5 and 7.5. Most local extension offices offer soil testing services, like the PennState Extension.
- Container Mix: If using pots, choose a high-quality potting mix that specifies good drainage.

Mistake 3: Overcrowding Your Plants
It’s tempting to pack seedlings closely, hoping for a fuller look sooner. However, overcrowding is a significant contributor to Zinnia problems, particularly fungal diseases like powdery mildew. Zinnias need good air circulation around their leaves to keep them dry and healthy. When plants are too close, moisture lingers, creating an ideal environment for spores to take hold. I’ve learned over the years that giving each plant its own space is an act of kindness that pays off in vibrant health.
The Fix: Space for Success
- Check the Tag: Pay attention to the mature size of the zinnia varieties you’re planting. Taller, larger varieties like ‘Benary’s Giant’ need more space (12-18 inches apart) than dwarf types like ‘Thumbelina’ (6-8 inches apart).
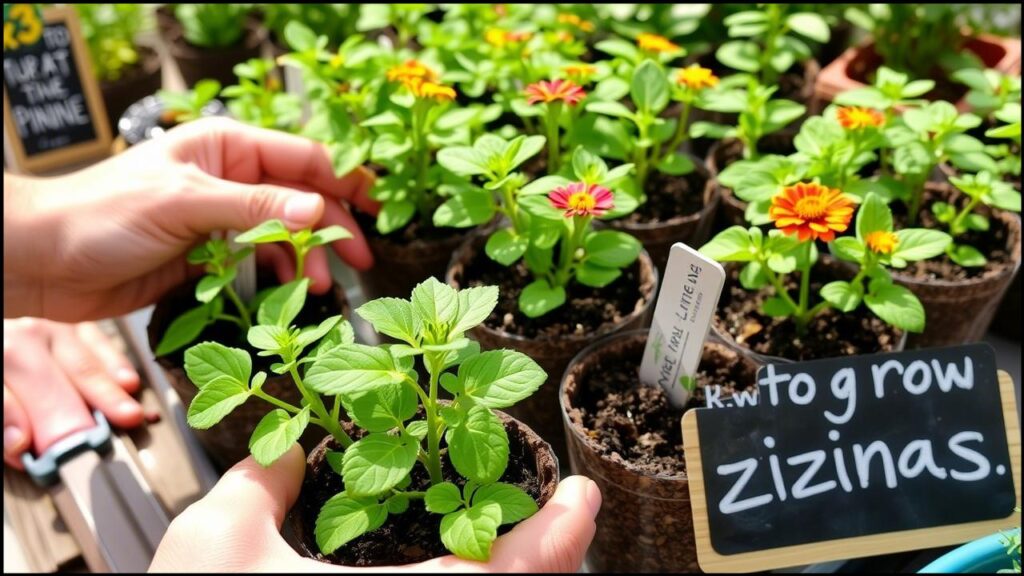
- Thin Seedlings: If you direct-sow seeds, be brave and thin the seedlings to the recommended spacing once they have a few sets of true leaves. It might feel counterintuitive to remove plants, but the remaining ones will thrive.
- Strategic Planting: When designing your beds, visualize the plants at their mature size to ensure adequate airflow from the start. This is a cornerstone of good Zinnia care.
Mistake 4: Improper Watering Techniques
Watering might seem straightforward, but how you water your zinnias can make a big difference. Overhead watering, especially in the evening, wets the foliage and can promote fungal diseases – a common issue that leads gardeners to search for solutions to Zinnia problems. Also, inconsistent watering, swinging from bone-dry to sopping wet, stresses the plants.
The Fix: Water Wisely and Well
- Water at the Base: Use a soaker hose, drip irrigation, or a watering wand to deliver water directly to the soil at the base of the plants. This keeps the leaves dry.
- Morning Moisture: Water in the morning. This gives any moisture that does splash onto leaves ample time to dry in the sun, reducing disease risk.
- Deep, Infrequent Watering: Water deeply but less frequently. Encourage roots to grow deeper by allowing the top inch or two of soil to dry out between waterings. A good soaking once or twice a week during dry spells is often better than a light sprinkle daily. In my experience, this deep watering method builds more resilient plants.
- Mulch Matters: Apply a 2-3 inch layer of organic mulch (shredded bark, straw, or compost) around your zinnias. Mulch helps conserve soil moisture, suppresses weeds, and keeps soil temperatures moderate.
Mistake 5: Starting Seeds Too Early Indoors (or Sowing Too Late Outdoors)
Enthusiasm can sometimes lead to starting zinnia seeds indoors far too early. While getting a jumpstart is good, zinnias are fast growers and don’t appreciate being pot-bound or languishing in small containers for extended periods. Conversely, waiting too long to sow seeds directly in the garden, especially in regions with shorter growing seasons, can mean a significantly delayed or diminished flower show. Timing is everything when learning how to grow zinnias successfully.
The Fix: Perfect Timing for Planting
- Indoor Sowing: If starting seeds indoors, sow them about 4-6 weeks before your last expected spring frost. Use biodegradable pots to minimize transplant shock, as zinnias can be a bit sensitive to root disturbance. I always use peat pots for my early zinnias for this very reason.
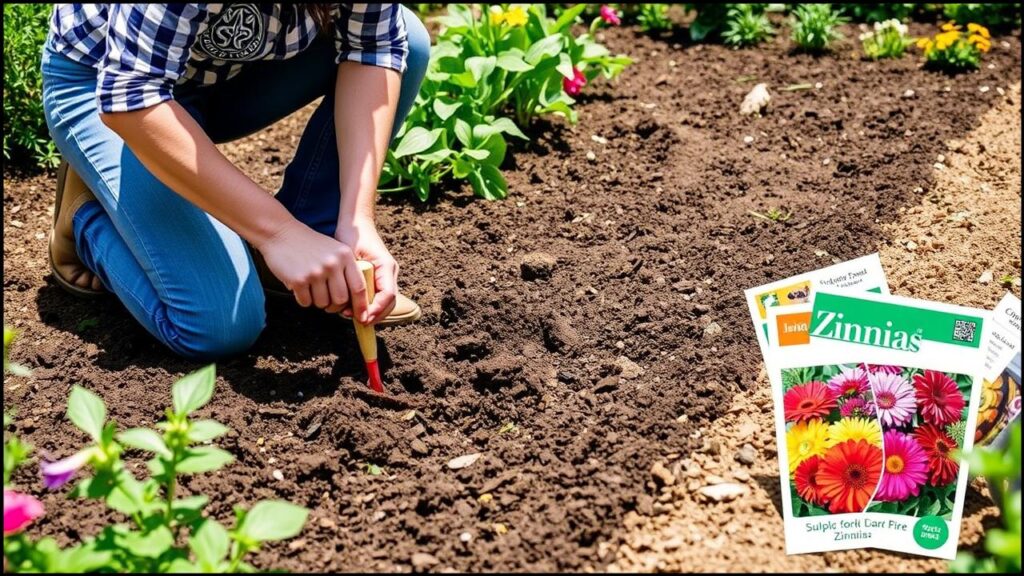
- Direct Sowing: For direct sowing, wait until all danger of frost has passed and the soil has warmed to at least 60°F (16°C), ideally closer to 70°F (21°C). The Old Farmer’s Almanac provides excellent regional planting guidance.
- Succession Planting: For a continuous display of fresh blooms all season long, consider succession planting. Sow a new batch of zinnia seeds every 2-3 weeks until midsummer.

Mistake 6: Neglecting Deadheading and Pinching
To keep your zinnias blooming profusely all summer, regular deadheading (removing spent flowers) is crucial. If old flowers are left on the plant, they’ll go to seed, signaling to the plant that its reproductive job is done, and flower production will slow dramatically. Pinching young plants can also encourage bushier growth and more blooms. This is a simple step in Zinnia care that yields fantastic results.
The Fix: Snip and Shape for More Flowers
- Deadhead Diligently: As soon as a flower starts to fade or look tattered, snip it off. Cut the stem back to a set of healthy leaves or a side shoot. This encourages the plant to redirect energy into producing new flowers. I find a daily stroll through my zinnia patch with snips in hand is a rather therapeutic ritual.
- Pinch Young Plants: When zinnia seedlings are about 8-12 inches tall and have several sets of leaves, pinch off the top 3-4 inches of the main stem, just above a pair of leaves. This encourages the plant to branch out, resulting in a fuller, sturdier plant with more flower stalks.
- Cut for Bouquets: Regularly cutting zinnias for indoor arrangements serves the same purpose as deadheading. The more you cut, the more they bloom!
Mistake 7: Ignoring Early Signs of Pests and Diseases
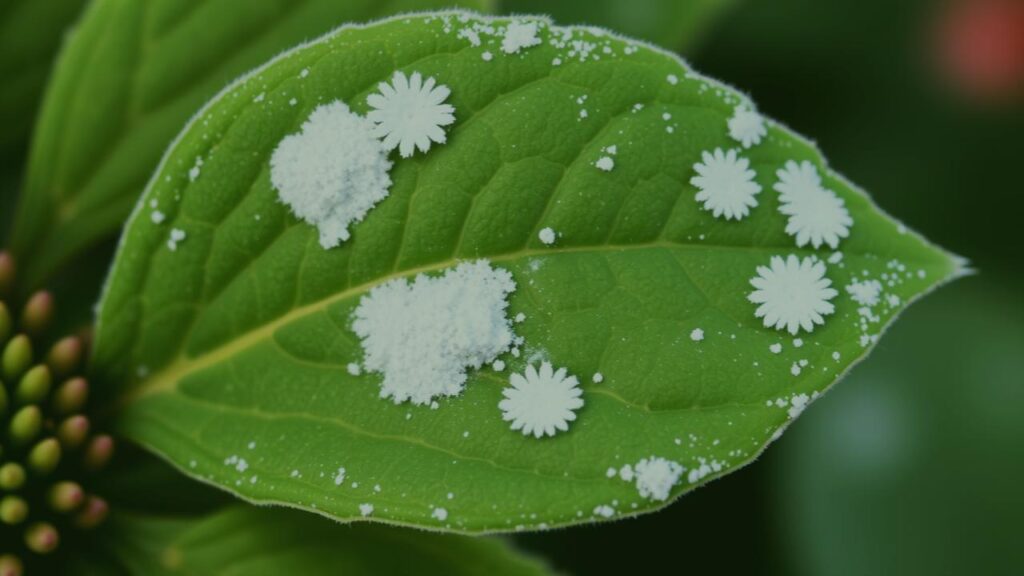
While generally robust, zinnias can fall prey to a few common garden foes, with powdery mildew being the most notorious Zinnia problem. Aphids and Japanese beetles can also occasionally make an appearance. Ignoring the initial signs allows these issues to escalate, potentially ruining your beautiful display.
The Fix: Vigilance and Swift Action
- Inspect Regularly: Make it a habit to inspect your zinnia plants closely at least once or twice a week. Look at the leaves (tops and undersides), stems, and buds for any signs of trouble.
- Powdery Mildew: This fungal disease appears as a white, powdery coating on leaves.
- Prevention: Ensure good air circulation (proper spacing), water at the base of plants, and choose disease-resistant varieties whenever possible. The Missouri Botanical Garden often lists disease resistance in its plant profiles.
- Treatment: At the first sign, remove affected leaves if the infection is minor. For more widespread issues, organic fungicides containing potassium bicarbonate or neem oil can be effective. In my garden, a spray of milk solution (1 part milk to 9 parts water) applied in bright sunlight has shown good preventative results.
- Aphids: These small, pear-shaped insects cluster on new growth and undersides of leaves. A strong spray of water can dislodge them, or use insecticidal soap.
- Japanese Beetles: These metallic green and copper beetles can skeletonize leaves and flowers. Hand-pick them in the early morning and drop them into a bucket of soapy water.

Tools and Materials for Zinnia Success
- Quality Zinnia Seeds or Seedlings: Choose varieties suited to your climate and desired look.
- Compost or Well-Rotted Manure: For soil amendment.
- Gardening Gloves: To keep your hands clean and protected.
- Trowel or Hand Spade: For planting.
- Watering Can, Soaker Hose, or Drip Irrigation: For proper watering.
- Sharp Pruners or Snips: For deadheading and cutting flowers.
- Organic Mulch: Shredded bark, straw, or compost.
- (Optional) Biodegradable Pots: If starting seeds indoors.
- (Optional) Organic Fungicide/Insecticidal Soap: For pest and disease management, if needed.
A Summer Brimming with Color Awaits
Growing zinnias should be a joyous experience, and with these common Zinnia growing mistakes demystified, you’re now wonderfully equipped to cultivate a truly breathtaking display. By providing the right conditions – plenty of sun, well-drained soil, adequate space, and mindful watering – and by staying attentive with tasks like deadheading, you’re setting the stage for a summer filled with vibrant color and buzzing pollinators. I’ve always found that a little extra care with these cheerful flowers goes a very long way. So, embrace these insights, tend to your zinnias with confidence, and prepare for a season of unparalleled floral beauty in your own garden. Happy planting!
