There is a quiet satisfaction in stepping out to your garden, scissors in hand, to snip a few fresh chives. Their delicate, oniony perfume seems to capture the very essence of a kitchen garden—fresh, vibrant, and full of promise. But for many gardeners, this simple act is tinged with a bit of anxiety. How much is too much? Will one overzealous snip spell the end for your beautiful plant? I am here to assure you that with the proper technique, you can put those fears to rest. The true secret to harvesting chives without killing the plant lies not in timidity, but in understanding how to work in partnership with this wonderfully resilient herb.
This guide will walk you through the elegant art of the chive harvest, transforming you from a hesitant snipper into a confident cultivator. You will learn not just how to cut your chives, but how to do so in a way that actually encourages more vigorous, lush, and flavorful growth. Let’s begin.
Quick Tips for a Bountiful Harvest
Short on time? Here’s the heart of the matter for perfectly harvested chives every time:
- Cut Low: Snip chive leaves 1 to 2 inches above the soil line.
- Work from the Outside In: Always harvest the older, outer leaves first, leaving the young central leaves to mature.
- Follow the One-Third Rule: Never remove more than one-third of the entire clump at a single cutting.
- Use Sharp Tools: Ensure a clean cut with sharp scissors or herb snips to prevent bruising and disease.
- Deadhead for Leaves: Snip off the beautiful purple flower stalks before they bloom to direct the plant’s energy into producing more leaves.
Understanding Your Chive Plant: A Recipe for Success
Before we bring out the shears, it’s helpful to understand a little about the plant itself. Chives (Allium schoenoprasum) are part of the onion family and grow from a bulb-like base. They are what we call a “cut-and-come-again” herb, a wonderfully forgiving category of plants that are programmed to regrow after being trimmed. In my own garden, I’ve learned that thinking of the harvest as a “pruning” rather than a “taking” completely changes the dynamic. A proper harvest is a form of maintenance that stimulates the plant, keeping it productive and preventing it from becoming overgrown and tough.
When you make a clean cut, you are signaling the plant’s base to send up fresh, new shoots. An improper harvest, such as lightly trimming just the tips of the leaves, can be less effective and may lead to weaker, less flavorful growth over time.
The Right Tools for an Elegant Cut
You don’t need an elaborate set of tools for this task, but using the right tool is paramount. A clean cut is a healthy cut.
TOOLS AND MATERIALS BOX:
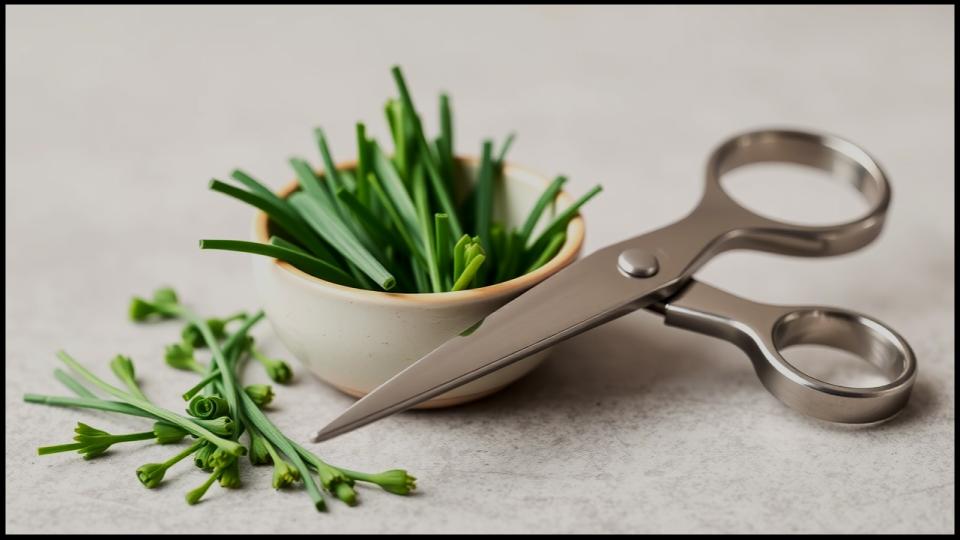
- Sharp Kitchen Scissors or Herb Snips: These are my go-to. They are easy to control and provide the clean snip needed to avoid tearing the delicate leaves.
- A Sharp Knife: If you are harvesting a large bunch, a thin, sharp paring knife can be used to cleanly slice through the base of the collected leaves.
- A Small Bowl or Basket: To gather your fragrant harvest without crushing it.]
Dull blades can crush the plant’s tissues at the cutting point. This not only looks untidy but, as confirmed by horticultural experts at the University of Minnesota Extension, damaged tissues can be more susceptible to disease. Keep your tools clean and sharp; your plants will thank you for it.

A Step-by-Step Guide to Harvesting Chives Without Killing the Plant
This simple, repeatable method ensures your chive patch remains a permanent and productive feature of your garden.
Step 1: Know When to Make the First Cut
Patience in the beginning pays dividends all season long. For a newly planted chive plant, wait until it is well-established and the leaves are at least 6 to 8 inches tall before you begin growing chives for harvest. This typically takes about two months from seed or one month from a nursery transplant. A common mistake I see is gardeners harvesting too early, which can deplete the young plant’s energy reserves before it has a chance to build a strong root system.
For an established plant, you can begin harvesting as soon as the leaves are a suitable length in the spring. The best time of day to cut is in the morning, just after the dew has dried. This is when the plant’s essential oils are most concentrated, giving you the best possible flavor.
Step 2: Harvest from the Outside In
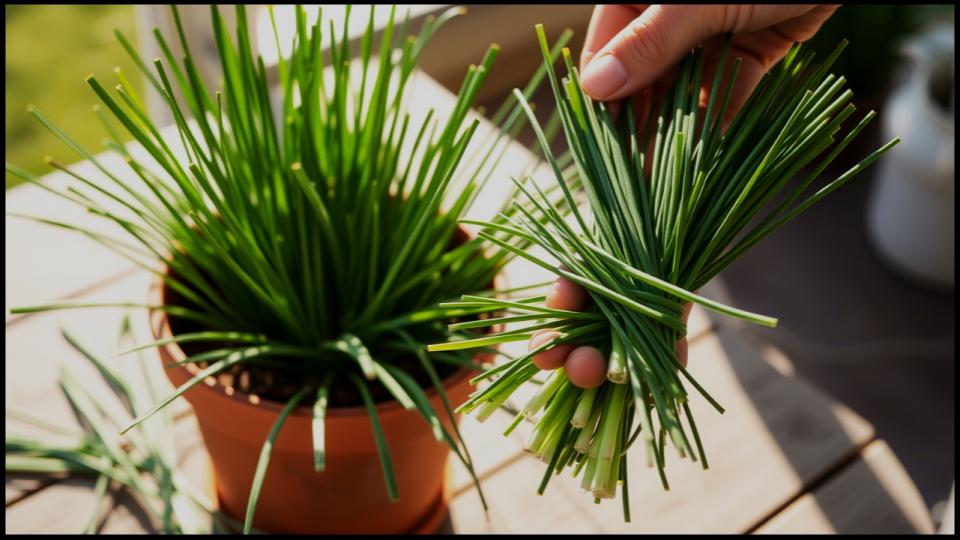
This is perhaps the most crucial part of the technique. Instead of giving the whole plant a flat-top haircut, target the oldest leaves on the outside of the clump. Gently gather a small bunch of these outer leaves between your fingers. This method leaves the younger, central leaves untouched, protecting the plant’s crown—the growing point from which all new shoots emerge. This allows the plant to continue its growth cycle uninterrupted.
Step 3: How to Cut Chives for Perfect Regrowth
Once you have your bunch of outer leaves, it’s time to make the cut. Snip the leaves cleanly, about 1 to 2 inches from the soil level. Avoid cutting too close to the base, as the plant needs some of its leaf structure to gather sunlight for photosynthesis, which fuels the regrowth. This simple act of how to cut chives properly is the key to a continuous harvest. Leaving this small amount of growth ensures a swift and vigorous return.
Step 4: Respect the One-Third Rule
To ensure your plant remains robust, never harvest more than about one-third of the entire clump at one time. This leaves plenty of foliage to sustain the plant and power new growth. You can typically come back for another harvest every two to three weeks, depending on the vigor of your plant and growing conditions. In my experience, a light, frequent harvest is far better for the plant’s long-term health than a single, aggressive one.
Beyond the Harvest: Essential Chive Plant Care
A bountiful harvest is only possible with a healthy plant. Proper chive plant care is simple and ensures your chives have the energy to regrow beautifully after each cutting.
- Sunlight and Soil: Chives thrive in at least six hours of direct sunlight per day and prefer rich, well-draining soil.
- Watering: Keep the soil consistently moist but not waterlogged. Chives have shallow root systems and can dry out quickly, especially in containers.
- The Question of Flowers: In late spring, your chive plant will produce beautiful, globe-like purple flowers. While lovely, flowering signals the plant to slow down its leaf production. For the best-tasting leaves, it’s wise to snip off the flower stalks as they appear. If you do let them bloom, the flowers themselves are edible and make a gorgeous, mildly oniony garnish for salads.
- Dividing for Vitality: Every two to three years, you may notice the center of your chive clump dying out or the plant becoming less productive. According to the Royal Horticultural Society, this is a perfect time to divide the plant. Simply dig up the entire clump in the spring, gently tease it apart into three or four smaller sections and replant them. It’s a wonderful way to rejuvenate your patch and get more plants for free!

A Harvest of Confidence
Harvesting your chives should be a moment of joy, not concern. By treating the harvest as a partnership—a thoughtful pruning that invigorates and encourages—you transform a simple task into a sustainable practice. You are now equipped with the knowledge to step into your garden with confidence, ready to snip those delicious, deep green spears, knowing that your healthy plant will offer you another generous bounty in just a few short weeks. It is one of the most rewarding and delicious cycles a home gardener can enjoy.
Read More
Why Your Basil Plant Is Drooping—and The Simple Fixes to Revive It Fast
