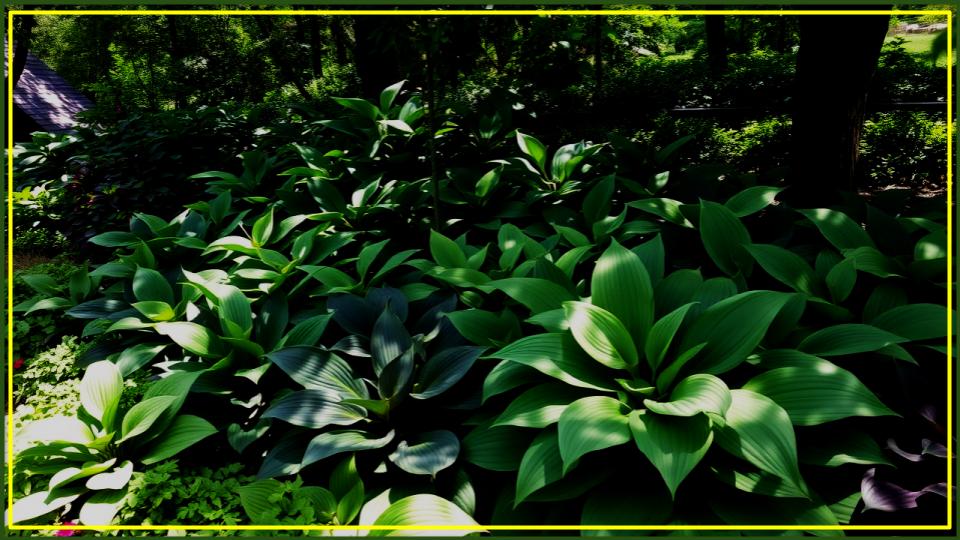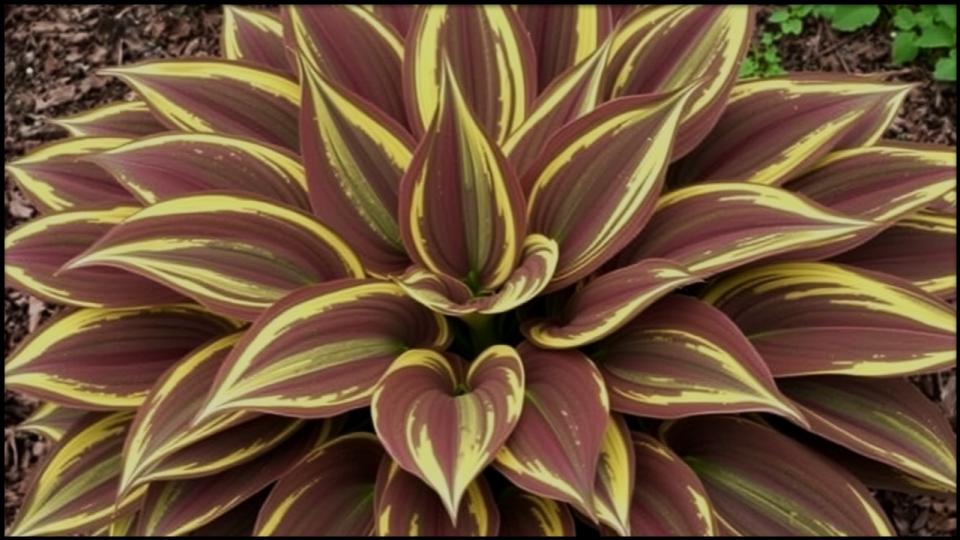
Hostas are the undisputed queens of the shade garden, celebrated for their sculptural leaves and serene presence. With foliage ranging from delicate chartreuse to deep, waxy blue, and in sizes from petite miniatures to grand, architectural clumps, there is a Hosta for every quiet corner. They promise so much with so little fuss, yet subtle missteps can lead to a garden that feels more distressed than distinguished. Overlooking their fundamental needs is one of the most common Hosta mistakes, turning potential showstoppers into lackluster performers. This guide will illuminate the simple adjustments in your Hosta care routine that make all the difference, empowering you to cultivate the sophisticated, thriving Hosta collection you envision. Let’s transform your shade garden from merely surviving to absolutely stunning.
Quick Tips for Flawless Hostas
- Right Plant, Right Place: Match your Hosta’s color to its light needs—blue leaves need more shade, while gold and variegated types need some morning sun to shine.
- Water Deeply, Not Daily: Water at the base of the plant to keep the soil consistently moist but never waterlogged.
- Mind the Crown: When planting, ensure the crown (where the leaves emerge from the roots) sits right at or just above the soil level to prevent rot.
- Defend Against Slugs Early: Act preventatively in spring as new growth emerges, using your preferred method of slug control.
Mistake #1: Misinterpreting the “Shade-Loving” Label
One of the most frequent common Hosta mistakes I see in gardens I visit is a misunderstanding of what “shade” truly means to a Hosta. It’s not a synonym for “darkness.” While Hostas will languish in the harsh afternoon sun, they also become weak and sparse in deep, dense shade where they receive no ambient light.
The Fix: Learn the Language of Light
Think of the ideal Hosta environment as bright, dappled shade or a location that receives gentle morning sun followed by afternoon protection.
- Blue Hostas: Varieties with blue-hued leaves, like the magnificent Hosta sieboldiana ‘Elegans’, have a waxy coating called bloom that creates their signature color. According to the University of Minnesota, intense sun can melt this coating, turning the leaves a dull green. These varieties demand the most shade to preserve their color.
- Gold and Variegated Hostas: Conversely, Hostas with bright gold, yellow, or white in their leaves, such as ‘June’ or ‘Guacamole’, need a few hours of morning sun to power up their chlorophyll and achieve their most brilliant coloration. In too much shade, their vibrant patterns can fade to a muted green.
- Green Hostas: Most green-leafed Hostas are the most adaptable, but they still look their best with protection from hot, direct sun.
In my own garden, I use the canopy of a large Japanese Maple to create the perfect filtered light. Observe the light in your garden throughout the day before you plant.
Mistake #2: Improper Watering Habits
Inconsistent watering is the fastest way to stress a Hosta. Too little water, and you’ll see crispy, brown edges and wilting. Too much, and you invite crown rot, a deadly fungal disease that turns the base of the plant to mush.

The Fix: Aim for Consistent Moisture
Hostas thrive in soil that feels like a well-wrung-out sponge—moist, but not soggy.
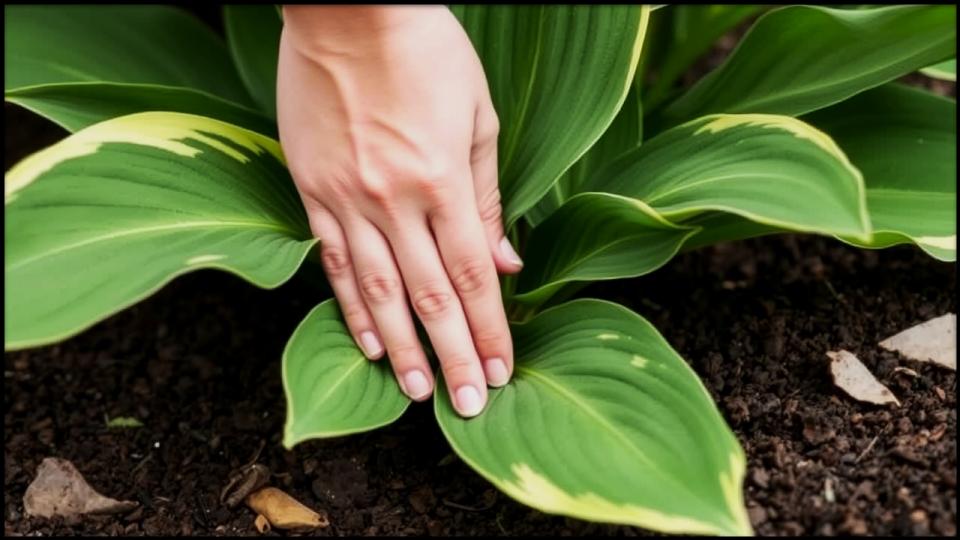
- Check the Soil: Don’t just look at the plant; feel the soil. Poke your finger about two inches down near the base. If it feels dry, it’s time to water.
- Water Deeply: Provide a good, long soak once or twice a week (depending on heat and rainfall) rather than a light, daily sprinkle. This encourages deep root growth.
- Water the Soil, Not the Leaves: As recommended by a guide from Monrovia, watering at the base of the plant delivers moisture directly to the roots and keeps the foliage dry, which helps prevent fungal diseases. A soaker hose is an excellent tool for this.
Mistake #3: Neglecting Soil Preparation
While famously resilient, Hostas cannot perform their best in poor soil. Planting directly into heavy, compacted clay or nutrient-stripped sand is a setup for disappointment. These conditions can suffocate roots or fail to retain the moisture and nutrients Hostas need for their lush growth.
The Fix: Cultivate Rich, Well-Drained Soil
Giving your Hostas a strong foundation is an investment that pays dividends for years. The University of Georgia advises that Hostas prefer well-drained soils amended with plenty of organic matter.
- Amend, Amend, Amend: Before planting Hostas, dig a hole that is twice as wide as the root ball and incorporate a generous amount of compost or well-rotted leaf mold. This improves drainage in clay soils and enhances water retention in sandy soils.
- Slight Mounding: If you have particularly heavy soil, consider planting your Hosta on a slight mound, just an inch or two above the surrounding grade, to ensure water drains away from the crown.
Mistake #4: Planting Too Deeply
This is a quiet but lethal mistake. The crown of the Hosta—the point where the stems meet the roots—is the heart of the plant. If buried too deeply, it remains perpetually damp and starved of oxygen, making it highly susceptible to rot.
The Fix: Elevate the Crown
When you place your Hosta in its planting hole, ensure the crown is level with or even slightly above the surrounding soil.
- Set the plant in the prepared hole.
- Backfill with your amended soil, gently firming it around the roots.
- Double-check that the base of the emerging leaves is not buried. You should be able to see the top of the root ball and the base of the shoots.
- Water thoroughly to settle the soil.
Mistake #5: Ignoring Pests Until It’s Too Late
Nothing mars the elegant foliage of a Hosta quite like the ragged holes left by slugs or the sheared-off stalks from a visiting deer. These are the most significant Hosta problems, and a reactive approach often means the damage is already done.
The Fix: A Proactive Defense
- Slugs and Snails: These mollusks are the number one enemy. They thrive in the same damp, shady conditions as Hostas. Start control measures in early spring as the Hosta “eyes” (new shoots) emerge. I’ve found that a combination of methods works best. Slug baits containing iron phosphate are effective and safer for wildlife. You can also create beer traps or ring vulnerable plants with coarse sand or diatomaceous earth. The Missouri Botanical Garden notes that varieties with thicker, corrugated leaves (Hosta ‘Sum and Substance’ or Hosta ‘Wheee!’) tend to be more slug resistant.
- Deer: To a deer, a Hosta is a five-star salad bar. If deer are common in your area, repellents are your best friend. They need to be reapplied regularly, especially after rain. Fencing is the only foolproof method.
- Foliar Nematodes: If you see browning between the leaf veins that looks like a stain soaking through the leaf, you may have foliar nematodes. According to the Wisconsin Horticulture Division of Extension, there is no chemical cure for home gardeners. Infected plants should be removed and destroyed (not composted) to prevent their spread. Always sanitize your tools after handling an infected plant.
Mistake #6: Forgetting to Plan for Maturity
That charming little Hosta in a one-gallon pot can, in a few years, become a three or four-foot-wide behemoth. Planting them too close together results in a crowded, competitive mass where individual plants lose their graceful form and air circulation is poor, encouraging disease.
The Fix: Read the Label and Space Accordingly
Respect the future. The plant tag is your guide—it will state the mature spread of the variety.
- Small Hostas (under 1 ft wide): Space 8-12 inches apart.
- Medium Hostas (1-3 ft wide): Space 18-24 inches apart.
- Large Hostas (over 3 ft wide): Give them at least 36-48 inches of room.
It may look sparse for the first year or two, but I assure you, patience is a gardener’s virtue. You can temporarily fill the gaps with annuals like Impatiens or Coleus while the Hostas grow into their space.
Mistake #7: Improper Division (Or Not Dividing at All)
Over time, Hosta clumps can become congested. You might notice the center of the plant looking weak or dying out, with fewer and smaller leaves. This is a sign that the plant is running out of resources and needs to be divided. Conversely, dividing too often or at the wrong time can stress the plant.
The Fix: Divide with Purpose in the Right Season
As detailed by Better Homes & Gardens, dividing every four to five years is a good rhythm for most varieties.
- Best Time: The ideal time to divide is in early spring, just as the pointed “eyes” are emerging from the soil. You can also divide in early fall, about a month before the first frost, to allow roots to establish.
- The Method:
- Dig up the entire clump.
- Use a sharp spade or garden knife to cut the clump into sections. Ensure each new division has at least two or three eyes and a healthy portion of roots.
- Replant the divisions at the same depth they were growing previously and water them in well.
A Future of Flawless Foliage

Hostas are designed to be a joy, not a job. By sidestepping these seven common Hosta mistakes, you move beyond basic survival and begin to cultivate true garden artistry. You empower your plants to reach their full, glorious potential—unfurling perfect leaves and creating the cool, serene, and elegant shade retreat you’ve always wanted. With a little thoughtful placement and consistent Hosta care, you’re now ready to enjoy seasons of flawless foliage.
Read More
The Easy Way to a Perfect Lawn: What to Know Before Choosing a Lawn Care Subscription
