You’ve given your houseplant everything it could possibly need: the perfect sun-drenched window, a consistent watering schedule, and even the occasional pep talk. Yet, it still looks… lackluster. The leaves might be yellowing, the growth seems stunted, and it just doesn’t have that vibrant, happy quality you see in magazines. Before you blame your green thumb, I want you to consider a vital element that is too often overlooked: the very air your plant’s roots breathe. The secret weapon your collection desperately needs is proper soil aeration for houseplants, an easy yet transformative practice that turns struggling plants into thriving showpieces.
This guide will walk you through the unseen world beneath the soil. You’ll learn not just why your plant’s roots need to breathe, but how to spot the silent signs of suffocation and, most importantly, how to fix it. Get ready to unlock a new level of houseplant care that promises a healthier, more beautiful indoor garden.
Quick Tips for Healthy Roots
Here’s what you need to know to give your plants a breath of fresh air:
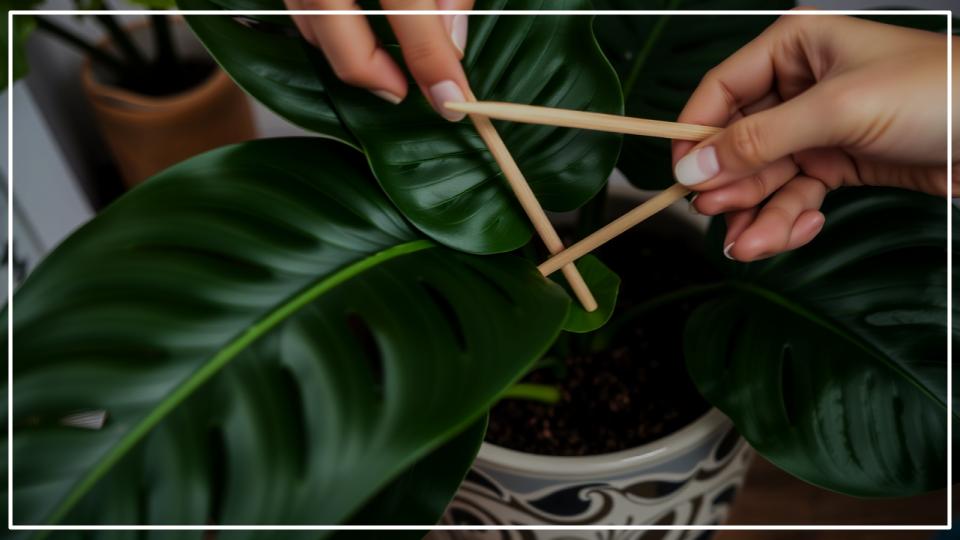
- The Chopstick Test: Gently press a chopstick or skewer into your plant’s soil. If you meet significant resistance, the soil is likely compacted.
- Aerate Monthly: For plants prone to compaction, use a chopstick to poke several deep holes into the soil (avoiding the main root ball) every four to six weeks to create air channels.
- Amend Your Mix: When repotting, always mix amendments like perlite or orchid bark into your potting soil to create a light, airy structure that resists compaction.
- Water Wisely: Only water when the top one to two inches of soil are dry. Overwatering is the fastest way to create waterlogged, airless soil, leading to root rot.
The Unseen Struggle: What Happens When Your Plant Can’t Breathe?
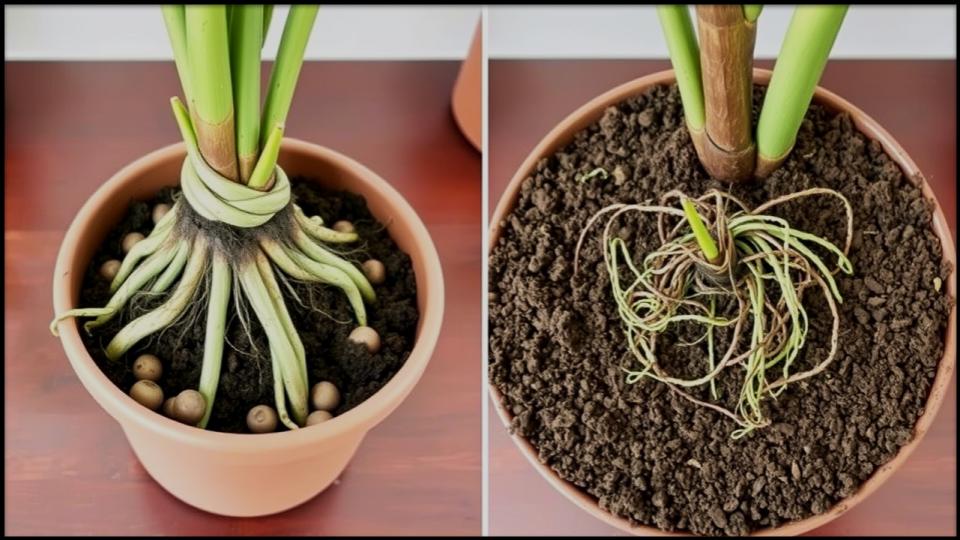
Deep within the cozy confines of your favorite pot, a hidden drama is unfolding. Plant roots don’t just anchor the plant and absorb water; they also need to respire. Much like us, roots take in oxygen and release carbon dioxide. When soil is light and airy, it’s full of tiny pockets, or pores, that hold the oxygen necessary for this vital process.
But over time, with repeated watering and natural settling, the soil can become dense and compacted soil. Imagine those airy pockets being squeezed shut. This compaction does two terrible things:
- It suffocates the roots. Oxygen can no longer reach them, causing root cells to die off.
- It creates a waterlogged environment. Water has nowhere to drain, filling the few remaining air pockets and creating the perfect anaerobic conditions for root rot pathogens to thrive.
In my own garden, I’ve found that the most common reason an otherwise well-tended plant begins to fail is due to these overlooked issues below the surface. A plant in compacted soil is essentially trying to breathe with a pillow over its face—no amount of sunlight or water can fix the fundamental problem of a lack of air. According to a report from Oregon State University’s Extension Service, this lack of oxygen not only halts root growth but severely hampers the plant’s ability to absorb the very water and nutrients it needs to survive.

Reading the Signs: How to Know if Your Soil is Suffocating
Your plants will often send you distress signals when their roots are struggling for air. Learning to read these signs is key to intervening before serious damage occurs.
Here’s what to look for:
- Water Pools on Top: When you water, does the water sit on the surface for a long time before slowly seeping in? This is a classic sign of compaction.
- Soil Pulling Away: When the soil is dry, does it shrink and pull away from the sides of the pot, forming a hard, brick-like mass?
- Stunted or Yellowing Growth: A lack of oxygen at the roots means the plant can’t properly absorb nutrients. This often shows up as yellowing leaves (chlorosis) or a general lack of new growth, even in the growing season.
- Wilting Despite Wet Soil: This is a major red flag for root rot. As the University of California IPM Program notes, roots that are rotting from overwatering or poor drainage can no longer uptake water, causing the plant to wilt as if it were thirsty.
- A Damp, Foul Odor: Healthy soil smells earthy and fresh. If you detect a swampy or rotten smell, it’s a strong indicator of anaerobic bacteria thriving in waterlogged conditions.
A common mistake I see is gardeners adding more water when they see a wilting plant, accidentally making the problem worse. Always check the soil first!
Your Toolkit for Success: Gentle Methods for DIY Soil Aeration
Revitalizing your plant’s soil doesn’t require a lot of fancy equipment. With a few simple tools and techniques, you can perform life-saving DIY soil aeration and dramatically improve your houseplant root health.
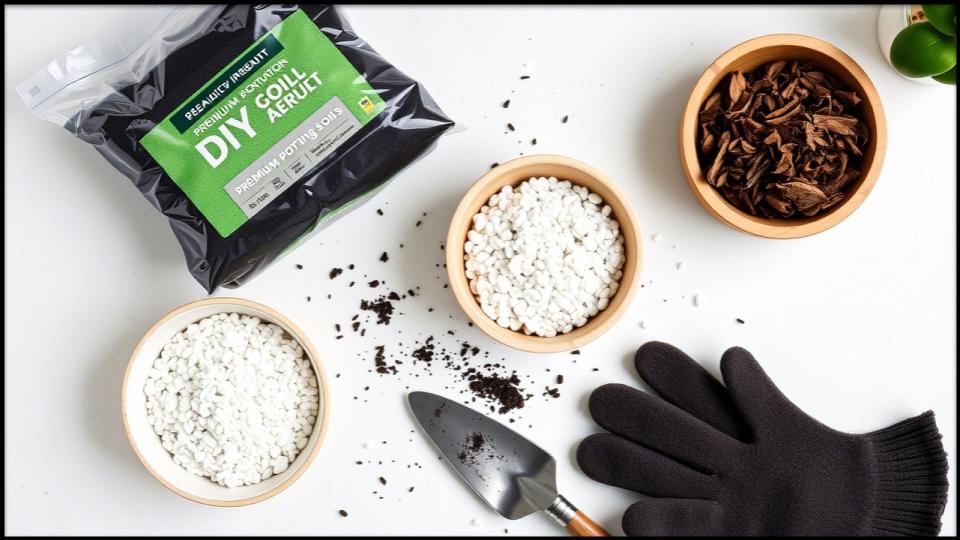
Tools & Materials You’ll Need
- A slender tool: A simple wooden chopstick, bamboo skewer, or even a wine corkscrew works perfectly.
- Fresh potting mix components: Perlite, orchid bark, or pumice.
- (Optional) A small trowel or spoon: For top-dressing.
Method 1: The Gentle Poke (Manual Aeration)
This is the quickest and easiest way to introduce air into a compacted pot.
- Choose Your Tool: Grab your chopstick or skewer.
- Gently Poke Holes: Carefully push the chopstick deep into the soil in several spots around the pot. Be mindful of the plant’s main root ball; you want to work around it, not through it. Wiggle the chopstick slightly as you push down to create stable channels.
- Work Your Way Around: Continue making holes every few inches, focusing on the area between the root ball and the edge of the pot. These channels will allow air and water to penetrate more deeply into the root zone.
- Repeat as Needed: For plants in dense soil, repeat this process every 4-6 weeks to maintain good airflow.
Method 2: The Ultimate Solution: Repotting with an Airy Mix
While manual aeration is a great temporary fix, the most effective long-term solution is to build aeration directly into your potting medium. When it’s time to repot, don’t just use standard potting soil straight from the bag. A custom mix is best.

My go-to recipe for a fantastic, all-purpose aerated mix is wonderfully simple and something I recommend to every plant owner.
The Perfect Airy Potting Mix Recipe:
- 3 parts standard, high-quality potting soil
- 2 parts perlite or pumice
- 1 part orchid bark
Simply combine these ingredients in a large bowl or bucket. The perlite creates durable little air pockets, while the orchid bark adds coarser texture that prevents the soil from packing down. According to the University of Arkansas Extension, additives like perlite and peat moss are essential for loosening soil and improving aeration. This blend creates a wonderfully balanced environment that retains just enough moisture while allowing excess water—and, crucially, fresh air—to flow freely.
A Breath of Fresh Air for Your Home
Paying attention to the invisible world beneath the soil is truly the hallmark of a great gardener. It’s a quiet, thoughtful practice that rewards you tenfold with robust growth, resilient health, and stunning foliage. By making soil aeration for houseplants a regular part of your care routine—whether through a simple poke with a chopstick or by blending your own beautiful, airy potting mix—you are providing the very foundation for your indoor garden to not just survive, but to truly thrive.
Now that you’re armed with this essential knowledge, you can approach your plant care with newfound confidence. Go ahead, give your plants the breath of fresh air they’ve been waiting for.
Read More
Grow Cilantro Indoors the Easy Way—Fresh Herbs at Your Fingertips 24/7
