Orchids may look fragile, but don’t be fooled—these little beauties are tougher than they seem. If your once-blooming orchid is now looking like it belongs in a plant graveyard, hold up! Don’t chuck it in the compost just yet. There’s a viral method floating around online that’s not just hype—it’s helping folks from New York to Nebraska bring their orchids back from the dead.
Called the Soaking Method, this easy trick has turned into a TikTok sensation and Reddit favorite, with countless plant lovers posting shocking before-and-after results. The secret? Giving those tired roots a good soak in lukewarm water. That’s it. But is it legit? You bet. Here’s everything you need to know—from why it works to how to do it right, complete with expert-backed advice and a few pro tips to keep your orchid looking fresh long after revival.

Why Orchids “Die”—And What They’re Really Doing
First off, orchids don’t die. They rest. Many folks panic when their orchid drops its flowers or looks dry. But what you’re seeing is a natural dormancy period—kind of like a hibernation phase. The trick is knowing the difference between dormancy and actual decay.
Here’s how to tell:
Dormant: Green/white roots, plump leaves, no flowers
Dying: Mushy or blackened roots, shriveled leaves, no new growth
If you see signs of decay, it’s time for some first-aid—and that’s where the Soaking Method shines.
Step-by-Step: The Soaking Method That Works Like Magic
Step 1: Unpot and Inspect
Remove the orchid gently. Take your time—no tug-of-war. Now check those roots:
Healthy: Firm, green or silvery-white
Dead: Brown, mushy, hollow, or black
Sterilize your scissors and trim the bad ones away. This stops root rot from spreading.
Expert Tip: Dab cinnamon on trimmed root ends—it’s a natural antifungal.
Step 2: Give Those Roots a Warm Bath
Take a clean bowl and fill it with lukewarm filtered water. Let the roots soak for 10–15 minutes—no more. This rehydrates dried roots and kickstarts new growth.
Avoid soaking overnight. That causes more harm than help.
Step 3: Repot in Fresh Orchid Mix
After the soak, pat the roots dry with a clean towel. Repot using an orchid-specific mix—usually bark, perlite, and charcoal. No regular soil—it’s too dense for orchids.
Use a pot with holes to prevent standing water. Orchids like airflow around their roots.
Step 4: Set the Stage for Recovery
Now it’s all about aftercare. Here’s the setup your orchid needs:
Light: Bright, indirect sunlight (like an east-facing window)
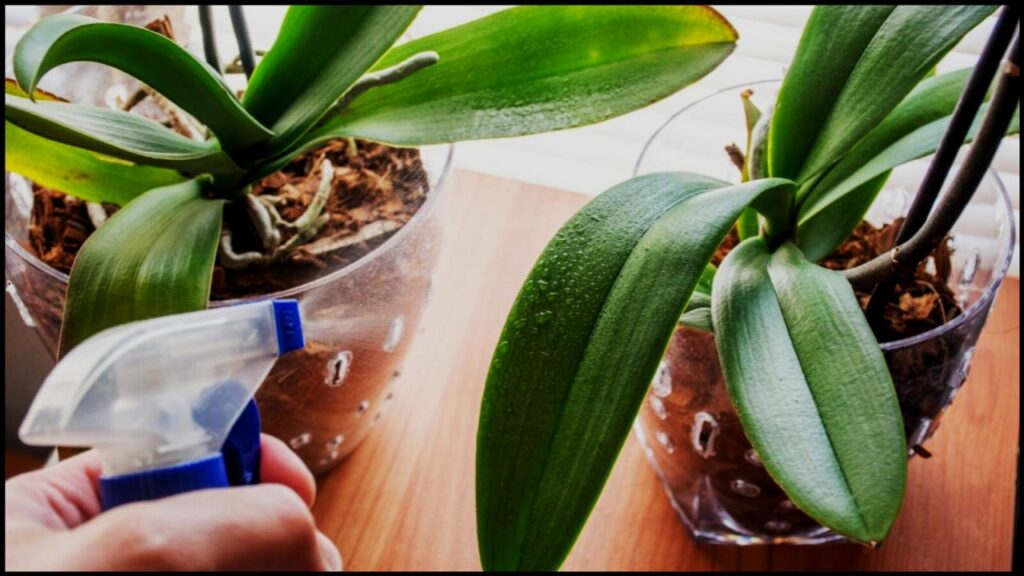
Humidity: Aim for 50% to 70%. Group plants together or use a tray with water and pebbles
Watering: Only water when the bark is dry
Fertilizer: Use a 20-20-20 orchid formula every two weeks from spring to fall
Bonus: Recovery Timeline—What to Expect After Revival
| Week | What Happens |
|---|---|
| Week 1 | No visual change; roots settle in |
| Week 3 | New root tips may appear |
| Month 2 | Leaf regrowth possible |
| Month 3+ | Possible spike formation (flower stem) if conditions are ideal |
Recovery is slow. But orchids are marathon runners, not sprinters.
How This Compares to Other Revival Methods
Besides soaking, you might’ve heard of these:
Sphagnum Moss Method
Wrap orchid roots in damp moss
Good for extremely dehydrated orchids
Can cause mold if kept too wet
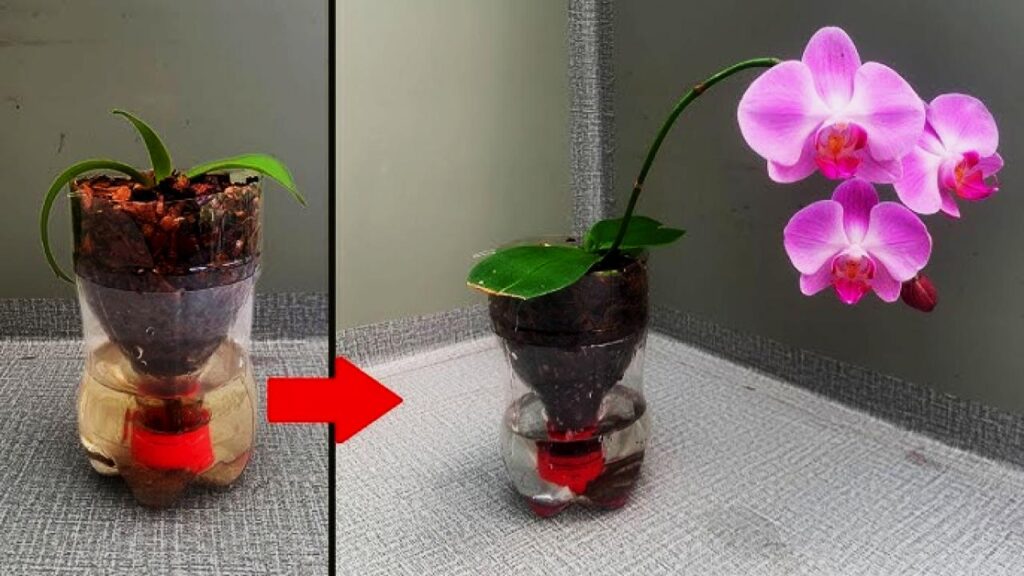
Water Culture Method
Keep roots suspended in water
Works, but higher risk of rot if not monitored
Soaking is safest for beginners—less commitment, easy to control, and effective for most mild-to-moderate cases.
Best Time of Year to Revive Orchids

While you can try revival anytime, spring and early summer are the sweet spots. This is when orchids naturally want to grow, and your efforts will get a big boost.
