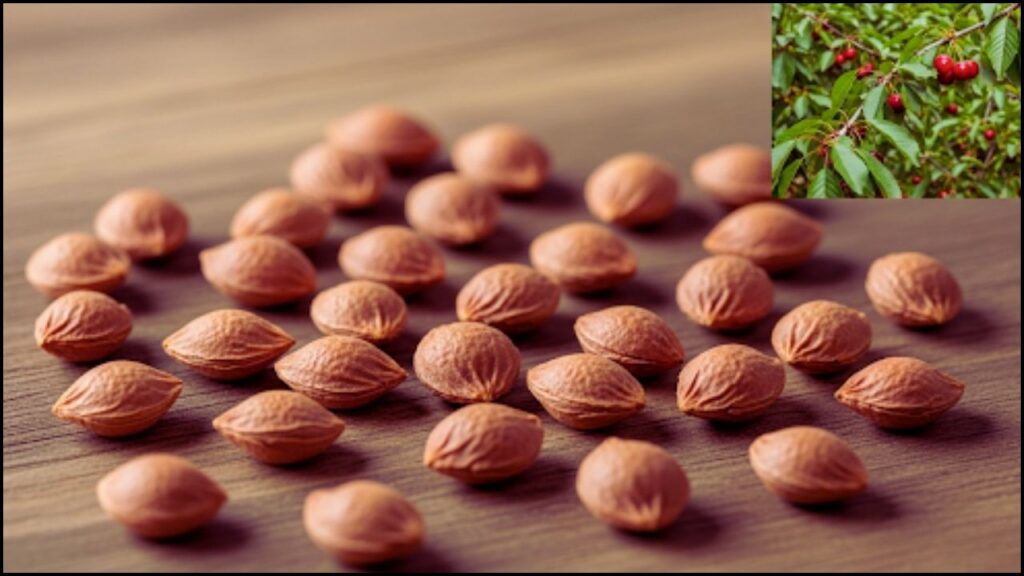
For the patient home gardener, the prospect of nurturing a tree from a simple fruit pit is a rewarding endeavor. Growing cherry trees from seeds is an accessible project that connects gardeners to the complete life cycle of the plant. However, horticultural experts advise that the process requires specific steps, significant patience, and an understanding that the resulting tree will yield a unique, and often different, type of fruit than the one its seed came from.
The Genetic Gamble: A Seed’s Unique Identity
Before embarking on this project, it is critical to understand a core principle of fruit tree genetics. Commercially grown cherries, like Bing or Rainier, are produced on trees that are grafted. This process involves attaching a branch from a desired cherry variety onto a sturdy rootstock, ensuring every new tree is a genetic clone that produces predictable, high-quality fruit.
A cherry pit, however, is the result of sexual reproduction and contains a unique genetic combination from its parent trees. “Planting a seed from a store-bought cherry is a genetic lottery,” explains Dr. Alistair Green, a pomologist with the University of California’s Agricultural Extension. “The resulting tree will not be a clone of its parent. It will be a brand-new, genetically distinct individual, and its fruit quality is completely unpredictable.” While this means you won’t replicate a specific commercial variety, you will grow a cherry tree that is one-of-a-kind.
A Practical Guide to Growing Cherry Trees from Seeds
Successfully coaxing a cherry pit into a sapling involves mimicking the natural conditions a seed would experience outdoors. This requires careful preparation and a crucial period of simulated winter.
Step 1: Collecting and Preparing the Pits
The journey begins with selecting fresh, ripe cherries, typically during the peak summer season. According to horticultural guides from Oregon State University Extension, pits from locally grown cherries may have a better chance of being adapted to your regional climate.
- Collect the Pits: Gather at least a dozen pits to increase the odds of successful germination.
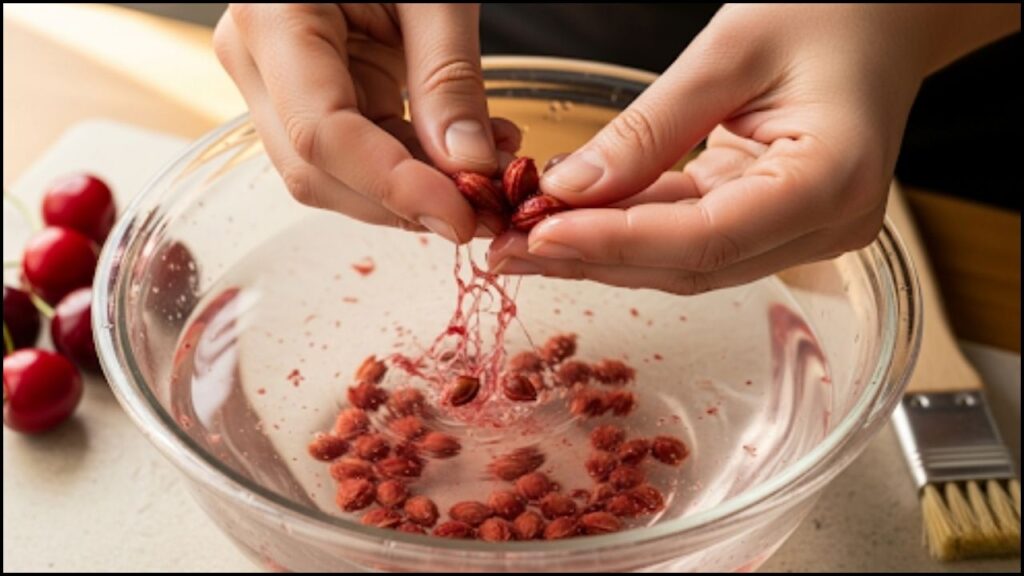
- Clean Thoroughly: Remove all fruit pulp by scrubbing the pits gently with a soft brush or cloth under running water. Any remaining fruit flesh can promote mold growth, which will prevent the seed from sprouting.
- Dry: Allow the clean pits to air-dry on a paper towel for a few days in a well-ventilated area away from direct sunlight.

Step 2: The Critical Cold Stratification Process
Cherry seeds possess a natural dormancy mechanism that prevents them from sprouting until they have passed through a cold, moist period, simulating winter. This process, known as cold stratification, is the most essential step for cherry pit germination.
“Without a proper cold, damp period, the growth inhibitors within the seed will not break down, and germination will fail,” notes a publication from the Penn State Extension. To stratify the seeds:
- Place the dry pits in a small, sealable plastic bag or container filled with a slightly damp medium like peat moss, vermiculite, or a damp paper towel. The medium should be moist, not waterlogged.
- Seal the container and label it with the date.
- Store it in a refrigerator for 10 to 12 weeks. The ideal temperature is between 33∘F and 41∘F (1∘C and 5∘C). Check periodically to ensure the medium remains damp and there are no signs of mold.
Step 3: Planting Cherry Seeds and Early Care
After the stratification period, some seeds may have already begun to crack open and sprout a tiny root. These are ready for planting. For those that haven’t, they can still be planted with a high chance of success.
- Planting: Fill small pots with a well-draining potting mix. Plant one or two seeds per pot about a half-inch deep.
- Location and Water: Place the pots in a sunny location, such as a south-facing window. Keep the soil consistently moist but not saturated. Germination should occur within a few weeks.
- Seedling Care: Once the seedlings emerge, ensure they receive at least six hours of direct sunlight daily. Protect them from pests and frost.
From Seedling to Fruit: A Timeline of Patience
Growing a cherry tree from seed is a long-term commitment. The seedling will spend its first year growing in a pot and can be transplanted to its permanent outdoor location the following spring, after the last frost.
It typically takes seven to ten years for a seed-grown cherry tree to mature enough to produce its first crop of fruit. During this time, proper care, including adequate watering, fertilization, and pruning, will be essential for its development. The final fruit’s flavor, size, and color will be a complete surprise—the unique result of your gardening efforts.
While grafting remains the standard for commercial fruit production, the process of growing cherry trees from seeds offers a different kind of reward. “It’s an experiment in genetics and a lesson in patience,” adds Dr. Green. “For hobbyists and educators, it provides a fascinating look at the entire life cycle of a plant, from a simple pit to a fruit-bearing tree.”
