There’s a certain magic that settles over a garden when stone and soil meet. The right hardscaping doesn’t just create a place to walk; it defines spaces, adds texture, and brings a timeless elegance that feels both grounded and sophisticated. For years, many home gardeners have viewed professionally laid stone as a luxury beyond their reach. But I’m here to let you in on a little secret: with the right materials and a bit of weekend determination, you can create truly gorgeous paver projects that are surprisingly affordable. This guide will walk you through thirteen gorgeous ideas, transforming your outdoor space from simple to stunning, one paver at a time.
Quick Tips for Success
Here’s what you need to know to get started on your beautiful and budget-friendly paver project:
- A Solid Foundation is Everything: Never lay pavers directly on topsoil. A proper base of compacted gravel and sand is the secret to a project that lasts for decades.
- Start Small and Simple: An ambitious, multi-level patio is wonderful, but a charming garden path or a simple, elegant landing for your grill can have just as much impact and is far more achievable for a beginner.
- Think Outside the Big-Box Store: Look for reclaimed bricks or search for landscape suppliers clearing out last season’s paver styles for significant savings.
- Measure Twice, Order Once: Calculate your square footage carefully and add 5-10% extra for cuts and mistakes. This prevents costly last-minute runs for more materials.
Why Choose Pavers for Your Garden Makeover?
Before we dive into the projects themselves, let’s talk about why pavers are such a fantastic choice for the home gardener. Unlike a solid slab of concrete, pavers offer incredible design flexibility. You can create gentle curves, intricate patterns like herringbone, or simple, modern lines. If one paver ever cracks or gets stained, you can simply lift it out and replace it—a forgiving feature I’ve come to appreciate in my own garden after a clumsy moment with a pot of paint!
Furthermore, properly installed pavers are permeable, allowing rainwater to seep into the ground between the joints. This is not only better for the environment and your local watershed, but it also helps prevent the pooling and runoff issues common with concrete patios. From classic red brick to natural flagstone, the variety of colors, shapes, and textures available means there is a paver to complement any home and garden style.
Getting Started with Your Paver Project
The success of any paver installation lies not in the pavers themselves, but in the base you prepare for them. A common mistake I see is skimping on this step, which leads to pavers that shift, sink, and become uneven over time. According to horticultural and landscaping experts, including the Oregon State University, a stable foundation is non-negotiable.
TOOLS AND MATERIALS BOX Your Basic Toolkit:
- Shovel & Wheelbarrow: For excavation and moving materials.
- Tape Measure, Stakes, & String: To lay out your project area perfectly.
- Level: A 4-foot level is ideal for ensuring a proper slope for drainage.
- Hand Tamper or Plate Compactor: Essential for compacting the base. You can rent a plate compactor for larger projects.
- Paver Base: Crushed gravel (like ¾-inch minus) that compacts tightly.
- Bedding Sand: Coarse sand to create a 1-inch setting bed for the pavers.
- Joint Sand: Polymeric sand is excellent for locking pavers in place and preventing weeds.
- Edge Restraints: Plastic, metal, or concrete edging to keep your project from spreading.
Now, let’s get inspired. Here are thirteen gorgeous paver projects to bring character and function to your garden.
1. The Classic Garden Path
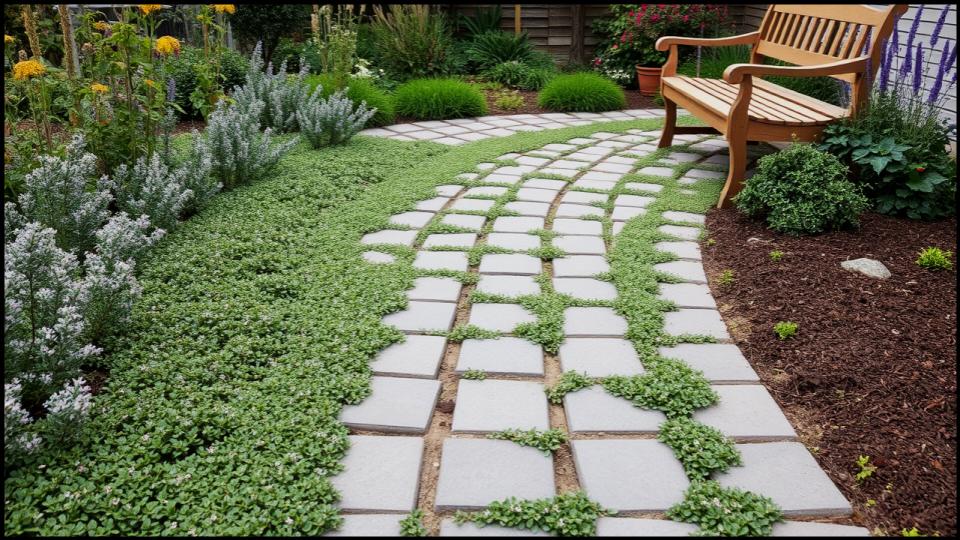
Let’s start with the most timeless of garden path ideas. A simple, elegant walkway invites you into the garden, guiding the eye and protecting your lawn from foot traffic. You can lay a straight path for a formal look or a gently curving one for a more romantic, cottage feel.
- Cost-Saving Tip: For a rustic path, use budget-friendly concrete pavers and space them a few inches apart, allowing hardy, low-growing groundcovers like creeping thyme or Irish moss to grow in between.

2. A Simple, Elegant Patio
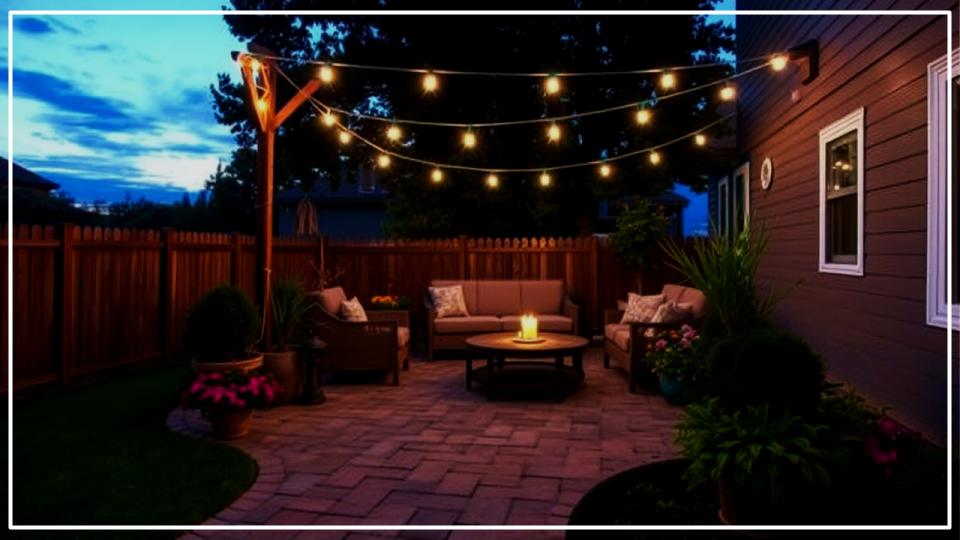
You don’t need a massive, sprawling patio to make a statement. A well-placed 10×10 or 12×12 foot DIY paver patio is the perfect size for a bistro set and a few containers overflowing with flowers. It creates an intentional outdoor room for morning coffee or evening relaxation. In my first home, a small paver patio was the single best investment I made, extending our living space into the garden all summer long.
3. The Polished Garden Edge
Give your flower beds that professionally-landscaped look with clean paver edging. Laying a single row of brick-shaped pavers along the border of your garden beds creates a crisp, defined line. This not only looks fantastic but also serves as a practical mowing strip and helps keep mulch from washing onto your lawn.
4. A Stylish Utility Pad
Elevate the purely functional corners of your yard. A small paver pad for your garbage cans, a hose reel, or your grill provides a stable, clean surface that instantly makes the area look more organized and intentional. This is a perfect first project for a beginner.
5. The Welcoming Front Stoop Landing
Expand a cramped front step by creating a generous landing with pavers. A semi-circular or square landing at the base of your steps provides a graceful transition from the driveway or walkway to your front door. It’s a small touch that dramatically boosts curb appeal.
6. Create a Cozy Fire Pit Circle
While pre-made fire pit kits can be pricey, you can create a beautiful and safe surround using retaining wall blocks (which function like thick pavers). Then, lay a generous circle of pavers around it to create a dedicated seating area. Fill the joints with gravel for a rustic look or polymeric sand for a tight finish. This is the heart of so many wonderful affordable landscaping makeovers.
7. The Checkerboard Patio
For a modern and budget-friendly twist, use large-format square pavers (16×16 or 24×24 inches) and set them in a checkerboard pattern. Alternate pavers with squares of turf grass or a decorative gravel like black Mexican beach pebbles. This design uses half the number of pavers, significantly cutting material costs.
8. A Charming Side Yard Walkway
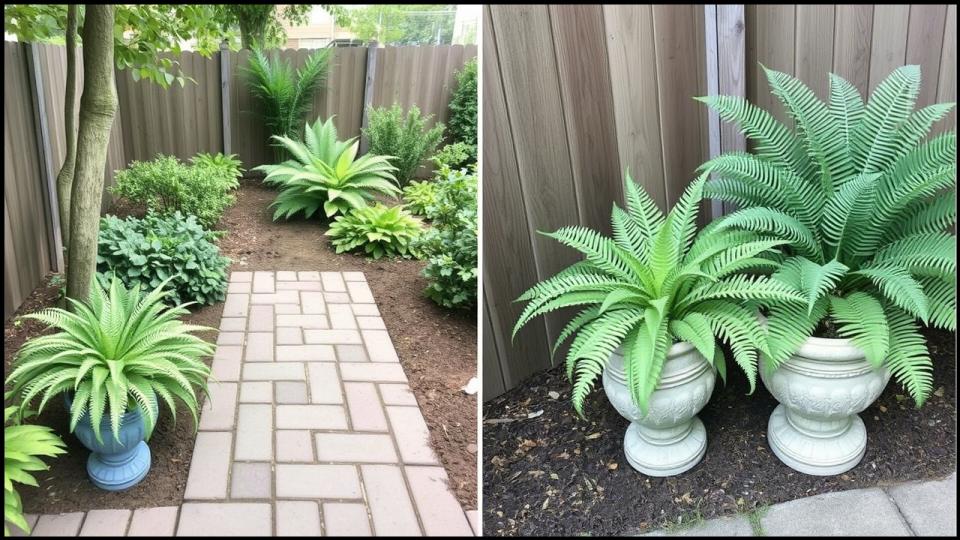
Don’t neglect the “lost space” on the side of your house. Transforming a muddy, forgotten side yard into a clean, attractive walkway with pavers is a game-changer. It connects the front and back yards and, with the addition of some shade-loving plants in containers, can become a lovely garden moment in its own right.

9. Rustic Steppingstones
Not every path needs to be solid. For a more informal look, create a path using individual pavers as steppingstones. The key is to space them correctly for a natural stride—about 24 inches from the center of one stone to the center of the next. You can use irregular flagstone for a naturalistic feel or sleek concrete rectangles for a modern vibe.
10. A Meditative Garden Nook
Carve out a small, quiet space for a single bench or a piece of garden art. A tiny, 5×5 foot paver circle tucked into a secluded corner of your garden creates a destination and a perfect spot for quiet contemplation. I have a spot just like this in my own garden, and it’s where I go to sketch and plan for the season ahead.
11. A Paver Border for a Gravel Patio
If a full paver patio feels like too much, consider a gravel or crushed stone patio for the main area to save on costs. Then, give it a high-end, finished look by installing a sophisticated two- or three-row paver border around the perimeter. This contains the loose material and elevates the entire look.
12. A Solid Landing for a Rain Barrel
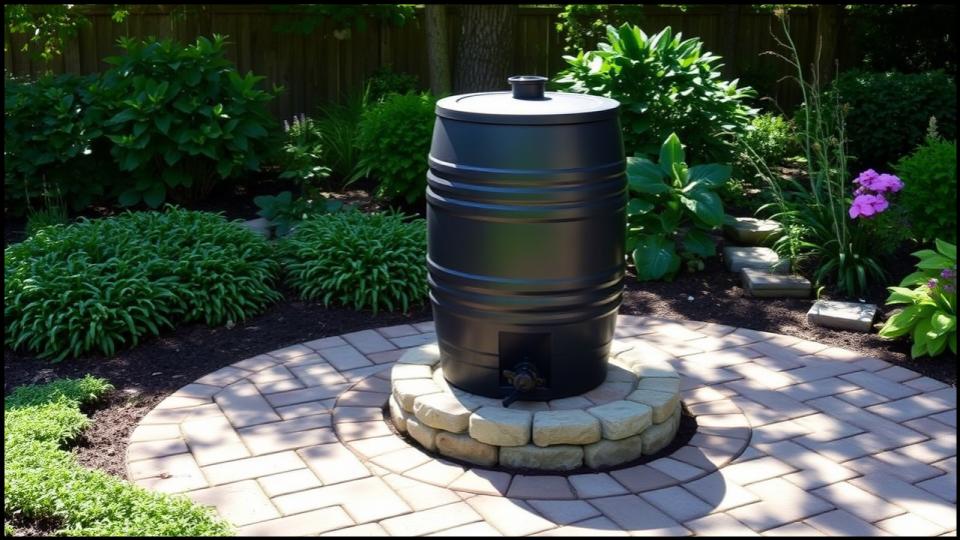
Placing a rain barrel directly on the soil can lead to it becoming unstable and unsightly. A small, 3×3 foot paver pad provides a firm, level surface that ensures your barrel is secure and adds a touch of polish to your water-harvesting efforts.

13. The “Un-Mortared” Terrace
Create the look of a classic, dry-stacked stone wall without the mortar and masonry skills. Use flat, stackable pavers or wall blocks to build a low retaining wall (one to two feet high) to terrace a gentle slope. This can create more usable, level planting space and add incredible dimension to your garden. Always check manufacturer guidelines for wall height limits.
Your Beautiful Garden Awaits
Creating a landscape of lasting beauty doesn’t have to drain your bank account. These gorgeous paver projects prove that with a little planning and hands-on effort, you can add structure, elegance, and immense satisfaction to your garden. From the simplest utility pad to a welcoming patio for friends and family, the feel of solid stone underfoot connects you to your outdoor space in a new and profound way. So, pick a project, get your tools ready, and start building the garden of your dreams.
Read More
These 15 Garden Water Features Will Make You Fall in Love with Your Garden Again
