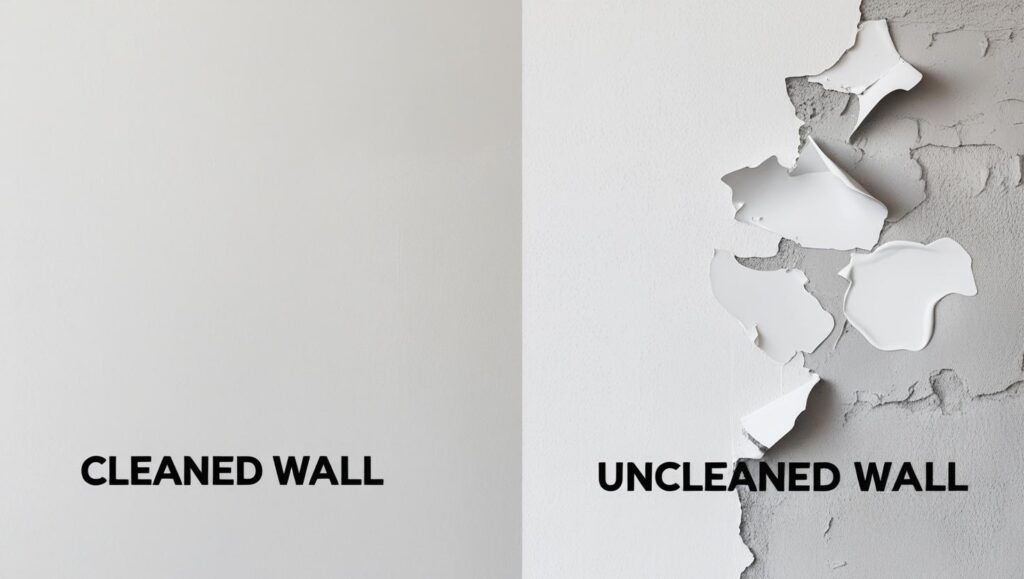
A fresh coat of paint promises a dramatic transformation, but professionals warn that achieving a durable, professional-looking finish depends on a critical, often-skipped preliminary step: preparation. This guide explains how to clean walls before painting, a foundational task that experts argue is as important as the painting itself. Neglecting this can lead to peeling, blistering, and an uneven appearance, wasting both time and money.
The primary reason for cleaning is to remove surface contaminants—dust, grease, oils, and grime—that prevent new paint from adhering properly. “Paint needs a clean, dull, and dry surface to bond to,” stated Rick Watson, director of product information and technical services at Sherwin-Williams, in a company advisory. “Without a clean slate, you’re not painting the wall; you’re painting the dirt on top of it.”
Why Wall Preparation is Non-Negotiable
Proper wall preparation ensures the longevity and aesthetic quality of a paint job. Over time, walls accumulate a variety of substances that can compromise paint adhesion.
- In kitchens, airborne grease from cooking can settle on surfaces, creating a slick film that repels water-based latex paints.
- In bathrooms, soap scum, hairspray residue, and moisture can lead to mildew growth and prevent paint from sticking.
- In common areas, dust, cobwebs, and oils from hands near light switches and doorways are prevalent culprits.
According to a technical bulletin from the Painting Contractors Association (PCA), an international trade organization, improper surface preparation is the leading cause of paint failure. The PCA emphasizes that even on walls that appear clean, invisible contaminants can interfere with the curing process and the paint’s ability to form a protective, lasting bond.

The Standard Cleaning Method for Most Walls
For most interior walls with light to moderate soil, a simple and effective cleaning solution is all that is required. The process is straightforward and uses common household items.
Step 1: Gather Your Materials
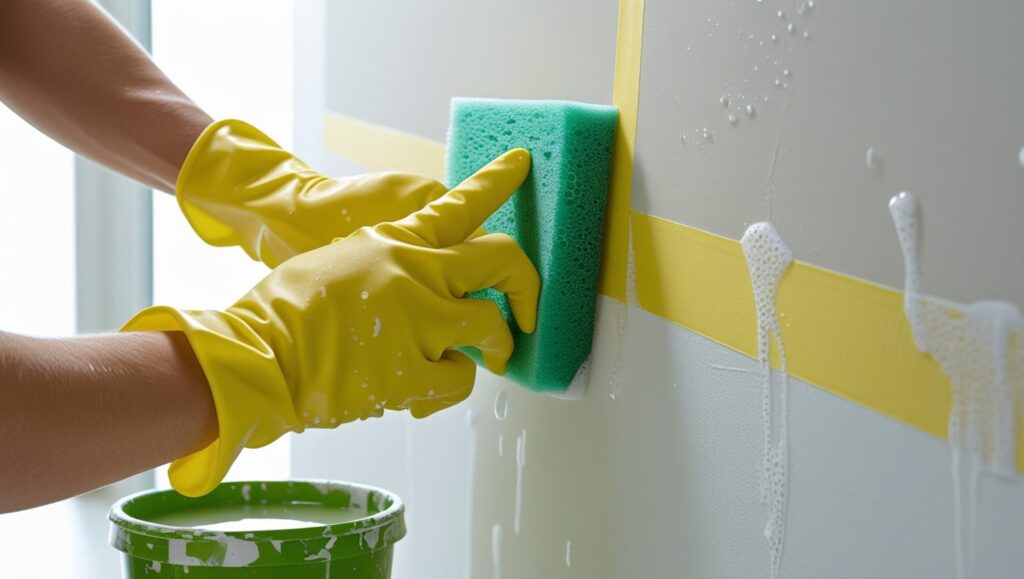
Before starting, assemble two buckets, a gentle detergent, sponges, and clean cloths. For the cleaning solution, mix a few drops of dish soap, like Dawn, into a bucket of warm water. The second bucket should contain only clean water for rinsing. Using two separate, clean sponges is recommended to avoid cross-contamination.
Step 2: The Cleaning Process
Dip a sponge into the soapy water, wring it out so it is damp but not dripping, and gently wash the wall. Work in manageable sections, typically starting from the top and moving down to catch any drips. This method prevents streaking and ensures even coverage. Do not apply excessive pressure, which could damage the existing paint or drywall surface.
Step 3: The Crucial Rinse
After washing a section, use the second sponge, dampened with clean water, to rinse away any soap residue. “Failing to rinse is a common mistake,” advises John Smith, a veteran painter with over 25 years of experience. “Leftover soap film acts just like grease or dirt, interfering with adhesion. The goal is to leave nothing behind but the clean wall.” Change the rinse water frequently to ensure it remains clean.
Step 4: Allow for Ample Drying Time
The final, and perhaps most critical, part of this process is patience. Walls must be completely dry before applying primer or paint. This typically takes a minimum of two to four hours, but humidity levels can extend this time. Attempting to paint over a damp surface can trap moisture, leading to bubbles and peeling down the line.
Tackling Tougher Stains: Grease and Mildew
For more demanding situations, such as greasy kitchen walls or mildew-spotted bathroom surfaces, a stronger approach is necessary.
Cleaning Greasy Surfaces
For heavy grease, a degreasing cleaner is recommended. While Trisodium Phosphate (TSP) was once the industry standard, its harsh chemical nature and environmental concerns have led many professionals to opt for safer alternatives. TSP substitutes, widely available at hardware stores, are formulated to cut through grease effectively without the same level of risk. Always follow the manufacturer’s dilution and safety instructions, including wearing gloves and eye protection. A thorough rinse is mandatory when using these powerful cleaners.
Removing Mildew
If you encounter mildew—identifiable as black, gray, or brown spots—it must be killed before painting. A solution of one part household bleach to three parts water is effective. Apply the solution with a sponge, let it sit for about 10 minutes until the stains disappear, and then rinse the area thoroughly with clean water. Ensure the room is well-ventilated during this process by opening windows or using a fan. For extensive mildew problems, consulting a professional remediation service is advised.
When is Cleaning Not Required?
The only scenario where washing walls might be skipped is with brand-new, unprimed drywall. Once new drywall is sanded, the fine dust must be thoroughly removed. According to Benjamin Moore & Co., this is best accomplished by vacuuming the wall with a brush attachment, followed by wiping with a damp cloth (not a wet one, which could damage the drywall paper). This is a crucial step in painting prep.
For every other situation, from repainting a room in a new color to simply refreshing an existing one, cleaning is a non-negotiable step for a professional and lasting result. The small investment in time for this wall preparation pays significant dividends in the final quality and durability of the paint job.
9 Houseplants That Make Your Home Look Expensive, Clean, and Perfectly Minimal
