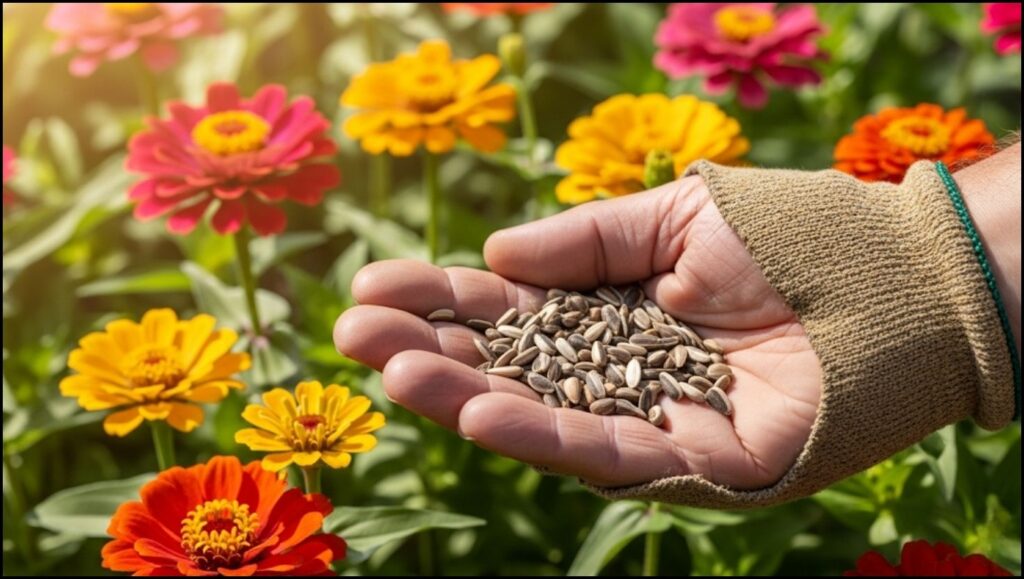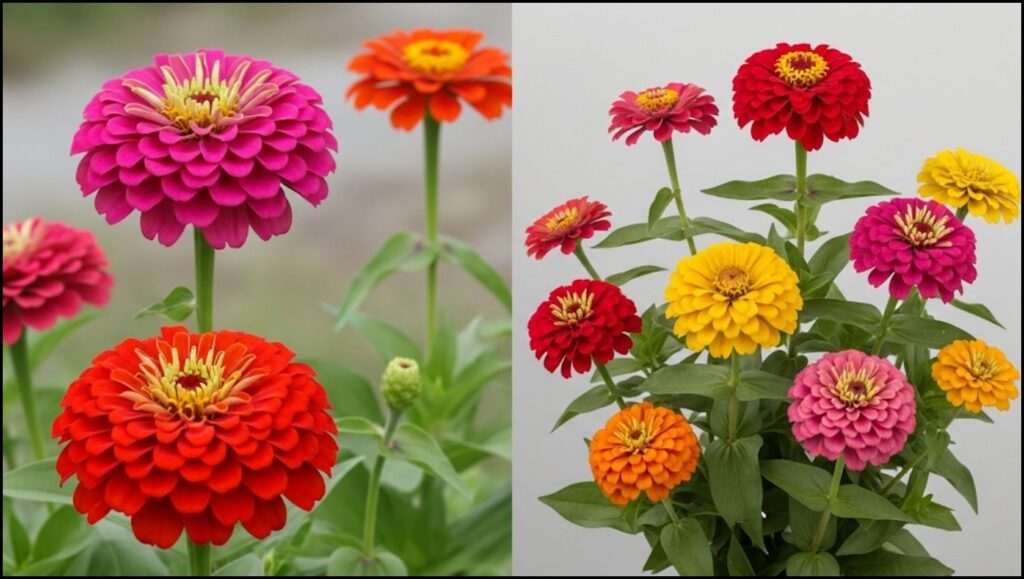
There is a simple, profound magic in the act of gardening. We sow, we nurture, and we delight in the vibrant tapestry of color that unfolds. Of all the summer’s cheerful blooms, zinnias are perhaps the most generous, offering a season-long spectacle with minimal fuss. But their greatest gift may be the one they offer at the season’s end: a treasure trove of seeds. Learning how to harvest zinnia seeds is more than a practical skill; it’s an invitation to participate in the full, beautiful cycle of your garden, ensuring a never-ending supply of your favorite flowers. This guide will walk you through every step, from selecting the perfect parent blooms to storing your precious seeds for a spectacular display next year.
Quick Tips for the Gardener on the Go
Here is the essence of saving zinnia seeds:
- Patience is Key: Allow the flower heads to dry completely on the plant until they are brown and brittle.
- Choose the Best: Harvest seeds only from your healthiest, most beautiful open-pollinated zinnia varieties for the best results next season.
- Keep Them Dry: Ensure seeds are bone-dry before storing them to prevent mold and rot.
- Label Everything: Store your dried seeds in a labeled paper envelope in a cool, dark, and dry place.
Why You Should Start Saving Zinnia Seeds
Beyond the obvious benefit of a free and endless supply of flowers, the practice of saving flower seeds connects you more deeply to the rhythm of your garden. Each year, the seeds you save from your own plants become slightly more adapted to your specific soil and microclimate. In my own cutting garden, I’ve noticed that zinnias grown from saved seed are often more vigorous than those from a fresh packet, already attuned to our summer heat and humidity.
You also become a curator of your own unique collection. By selecting seeds from a zinnia with an unusual color variation or an exceptionally strong stem, you are actively shaping the future of your garden’s aesthetic. It’s a wonderfully rewarding process that transforms you from a consumer of seeds into a creator of beauty.
The Graceful Art of Selection: Choosing the Best Blooms
The success of next year’s flowers begins with the choices you make this year. Not all zinnias are created equal when it comes to seed saving, and a little knowledge goes a long way.

Understanding Zinnia Genetics (Simply Put)
Before you snip a single flower, it’s helpful to know if your zinnias are open-pollinated or F1 hybrids.
- Open-Pollinated (OP) Varieties: These plants are pollinated by insects, birds, or wind. Seeds saved from OP varieties, like the classic ‘California Giant’ or ‘Lilliput,’ will grow into plants that look just like their parents. These are the ideal choice for seed saving.
- F1 Hybrid Varieties: These are created by intentionally cross-pollinating two different parent varieties to produce a plant with specific desirable traits (like unique colors or disease resistance). While their flowers are often stunning, seeds saved from F1 hybrids will not grow “true to type.” The resulting plants can be a mixed bag, often reverting to traits from one of the grandparents. It’s an interesting experiment, but unpredictable. According to the University of Minnesota Extension, this genetic instability is why saving seeds from hybrids can yield surprising, and sometimes disappointing, results.
What to Look For in a Parent Plant
Walk through your garden and play the role of a discerning editor. Look for zinnia plants that exhibit the best qualities:
- Vigor and Health: Choose flowers from strong, robust plants free of diseases like powdery mildew.
- Exceptional Color: Is there one bloom that’s a particularly lovely shade of coral or a perfectly rich magenta? Tag it with a loose piece of yarn.
- Desired Form and Size: Select for long, sturdy stems if you love cut flowers, or a compact, bushy habit for border plantings.
- Bloom Type: Ensure the flower has the petal formation—single, semi-double, or double—that you wish to replicate.
The Perfect Timing: When to Harvest Zinnia Seeds
Patience is the most important tool at this stage. A common mistake I see is gardeners trying to harvest seeds too early from a flower that is merely fading. The seeds need time to mature and dry completely while still on the plant.
The Signs of a Ready Seed Head
You’ll know a zinnia head is ready for harvest when it has transformed from a vibrant bloom into a dry, somewhat drab-looking cone. Look for these signs:
- The petals are brown, shrunken, and feel like brittle parchment.
- The colorful ray flowers have fallen off, leaving behind the central cone.
- The seed head is a uniform dark brown or gray.
- The stem just below the head is stiff and brown.
If you pull gently on a petal and it releases easily with a tiny, arrowhead-shaped seed attached to its base, you’re ready.
Harvest Zinnia Seeds: A Step-by-Step Guide
Harvesting on a dry, sunny afternoon is ideal, as any morning dew will have evaporated.
- Identify your chosen dried flower heads.
- Use clean, sharp scissors or pruning snips.
- Cut the stem a few inches below the seed head to give you something to hold onto.
- Collect the heads in a paper bag, a basket, or a wide bowl. Avoid plastic bags, which can trap moisture and promote mold.
TOOLS AND MATERIALS BOX:
- Pruning Snips or Scissors: Clean and sharp for a precise cut.
- Paper Bags or Open Basket: For collecting the seed heads without trapping moisture.
- Marker and Tags/Yarn: To mark your prize blooms earlier in the season.
- Shallow Bowl or Tray: For extracting the seeds indoors.
- Paper Envelopes or Small Glass Jars: For final seed storage.]
From Head to Harvest Zinnia Seeds: Extracting and Drying Your Seeds
Now for the wonderfully tactile part of the process. Bring your collected seed heads indoors to a comfortable workspace.
The Threshing Process (It’s Easier Than It Sounds)
“Threshing” is simply the term for separating the seeds from the dried flower head.
- Hold a dried zinnia head over a shallow bowl or tray.
- Gently pull the head apart with your fingers. The whole structure should crumble easily.
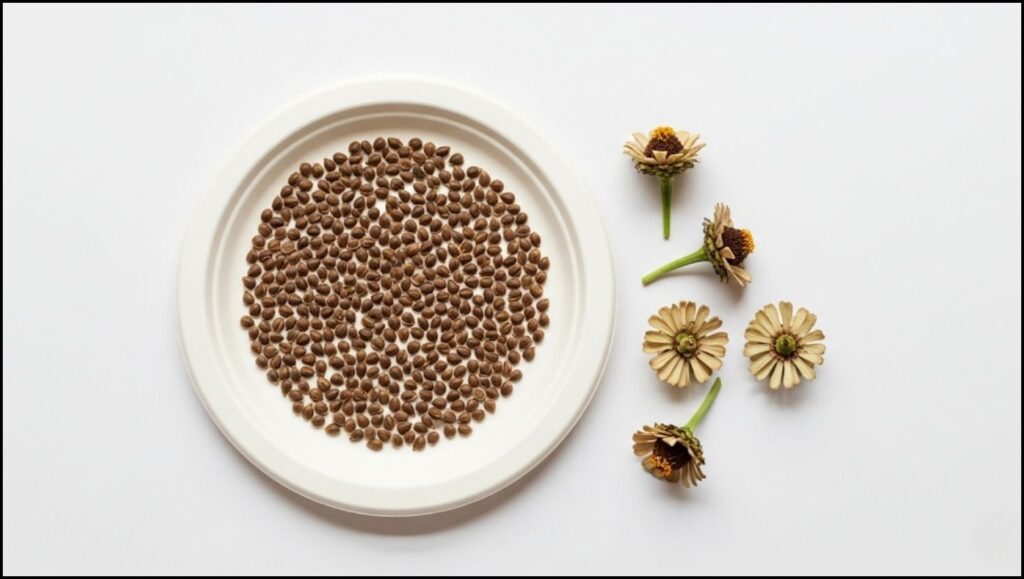
- As you break it up, you will see the small, gray or brown, arrowhead- or spear-shaped seeds mixed in with the dried petals and other floral parts (this mix is called “chaff”). Each dried petal should have a seed at its base.
Winnowing: Separating Seed from Chaff
While you can store your seeds mixed with the chaff, cleaning them improves airflow and can help prevent moisture-related issues. For zinnias, the easiest method is by hand. Most of the zinnia seeds will remain attached to the base of the dried petals. Simply sift through the pile and pick out these petal-and-seed combinations. The tiny, undeveloped seeds can be discarded. Don’t stress about getting it perfect; a little chaff won’t harm viable seeds.
Final Drying: The Key to Long-Term Storage
This is the most critical step for ensuring your seeds last. Even though the heads felt dry on the plant, the individual seeds need a final curing period. This is how to dry zinnia seeds properly:
- Spread the seeds and chaff in a single layer on a screen, a paper plate, or a coffee filter.
- Place them in a warm, dry, well-ventilated location away from direct sunlight for at least one week. I like to use a top shelf in a closet or a quiet corner of the kitchen counter.
- Test for dryness by trying to bend a seed. A truly dry seed will be brittle and snap, not bend. As the Chicago Botanic Garden notes, seeds must be completely dry before storage to maintain their viability.

Storing Your Treasure: Keeping Seeds Viable for Spring
Proper storage protects your hard-won seeds from their three main enemies: heat, light, and moisture.
Your goal is to keep the seeds in a state of suspended animation until you’re ready to plant them.
- The Best Containers: Small paper envelopes are excellent as they are breathable. Small glass jars with tight-fitting lids also work well, provided the seeds are absolutely bone-dry.
- Labeling is Non-Negotiable: Use a permanent marker to label your container with the zinnia variety and the year of harvest (e.g., “Zinnia elegans ‘Profusion Cherry’ – 2025”). This is crucial for tracking viability over the years.
- The Ideal Location: Store your labeled seeds in a cool, dark, and dry place. A desk drawer, a closet, or a sealed container in the refrigerator are all excellent choices.
A Garden That Gives Back
There is a deep satisfaction in seeing a new generation of flowers emerge from seeds you gathered with your own hands. The process of Harvest Zinnia Seeds closes the loop on the gardening season, transforming a fleeting summer pleasure into a lasting and sustainable practice. It’s a simple act of faith in the future—a promise you make to yourself for another year of breathtaking color. Now that you have the knowledge, all that’s left is to step outside and choose the blooms that will paint your garden next summer.
8 Stunning Border Flower Bed Ideas to Enhance Your Garden’s Look
