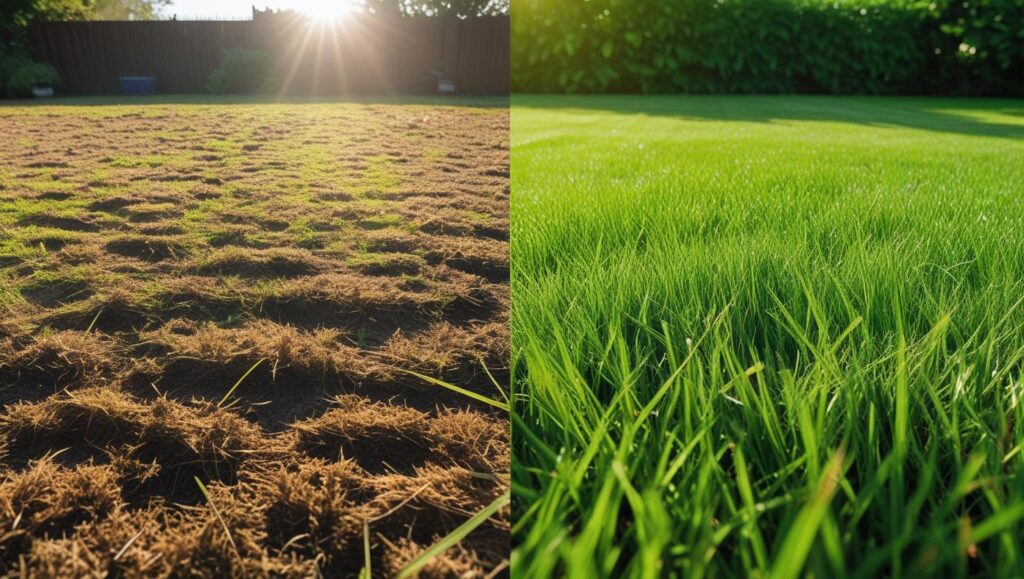
A worn, thinning lawn is a common issue for homeowners, but a full replacement is not always necessary. A systematic lawn renovation guide using grass seed provides a cost-effective and sustainable path to reviving turf. By focusing on correct timing, soil health, and proper seed selection, homeowners can cultivate a dense, resilient, and visually appealing lawn, according to turfgrass specialists at several U.S. universities.

Key Steps to a Successful Lawn Renovation
| Key Step | Action Required |
| Optimal Timing | Seed cool-season grasses in late summer/early fall. Seed warm-season grasses in late spring/early summer. |
| Soil Testing | Collect a composite soil sample and send it to a state-certified lab for analysis of pH and nutrient levels. |
| Seed Selection | Choose high-quality seed appropriate for your climate zone, sun exposure, and intended lawn use. |
| Watering | Keep the top 1-2 inches of soil consistently moist until germination, then transition to deeper, less frequent watering. |
The Groundwork for a Green Turnaround
A successful lawn renovation hinges on more than just scattering new seed. Experts agree that a methodical approach, beginning weeks before planting, is critical for long-term success. The goal is to create an optimal environment for seeds to germinate and establish strong roots before facing the stresses of extreme heat or cold.
For properties with more than 50 percent undesirable grass or weeds, a full renovation is often more effective than simple overseeding. “If your lawn has thinned out and looks clumpy rather than showing large dead areas, it is likely that you have lost one of the varieties to drought or disease,” advises Utah State University Extension. In such cases, a complete overhaul ensures a uniform and healthy stand of grass.
Your Step-by-Step Lawn Renovation Guide Using Grass Seed
Step 1: Timing is Everything
The most critical factor in a lawn renovation guide using grass seed is timing the project with the grass type’s natural growth cycle. Cool-season grasses, such as Kentucky bluegrass, fescues, and perennial ryegrass, are best seeded from mid-August to mid-September. “Days are warm, nights are getting cooler, sunlight is plentiful, and day length is declining,” states the Oregon State University Extension Service, noting these conditions are “almost perfect” for rapid germination.
Conversely, warm-season grasses like Bermuda, Zoysia, and St. Augustine should be seeded in late spring or early summer. This timing allows them to establish during their peak growing season. Planting outside these windows often leads to poor germination, increased weed competition, and weak seedlings unprepared for seasonal dormancy.
Step 2: The Foundation – Soil Testing
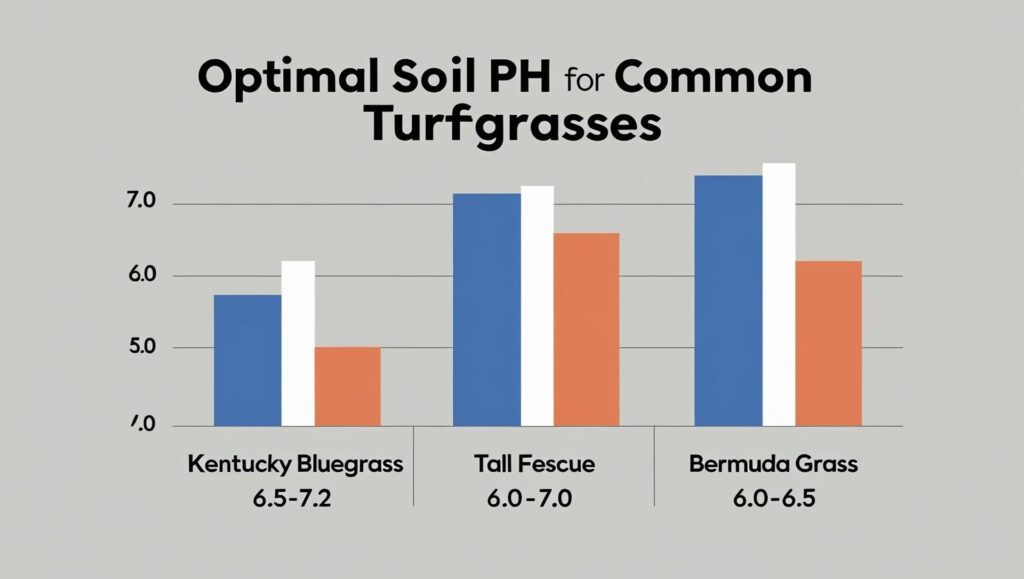
Before any amendments are made, a soil test is essential. “Soil is the foundation of a healthy lawn. It is recommended to test your soil every three to five years,” according to the Illinois-Indiana Sea Grant program, a joint effort between the University of Illinois and Purdue University. A soil test reveals the current pH and levels of essential nutrients like phosphorus and potassium.
Homeowners can obtain soil test kits and instructions from their local county extension office. The results will provide specific recommendations for amendments, such as lime to raise pH or sulfur to lower it, and the appropriate fertilizer blend. Experts caution against applying amendments without a test, as this can waste money and potentially harm the lawn.

Step 3: Preparing the Seedbed
With a plan for soil improvement in hand, the next phase involves clearing the existing turf and preparing the ground. This starts with controlling existing weeds. For pervasive weeds, a non-selective herbicide application may be necessary, requiring a waiting period of 10-14 days for the product to be effective before proceeding, as noted by Utah State University Extension.
Next, the lawn should be mowed lower than usual, to about 1.5 inches, to facilitate dethatching and aeration. Thatch is the layer of dead stems and roots that accumulates above the soil. A layer thicker than half an inch can prevent water and nutrients from reaching the soil. A power rake or vertical mower can be used to remove this layer.
Following dethatching, core aeration is highly recommended. This process involves removing small plugs of soil from the lawn. “Aerification relieves soil compaction, improves water and air movement into the soil,” explains the Purdue University Extension. This is particularly crucial for heavy clay soils or high-traffic areas.
Step 4: Seeding and Fertilizing
Once the ground is prepared, it is time to apply the seed and a starter fertilizer. The choice of grass seed should be based on climate, sun exposure, and expected foot traffic. Seed labels provide critical information on purity and germination rates.
A broadcast or drop spreader should be used to ensure even distribution of both seed and fertilizer. The starter fertilizer, typically high in phosphorus, is crucial for stimulating strong root development in the new seedlings. Lightly raking the area after application will ensure good seed-to-soil contact, which is vital for germination.

Post-Germination: Critical Care for New Turf
The work does not end once the seed is down. Proper watering is paramount. “After seeding, keep the upper 1 inch of soil moist by watering once or twice a day,” advises the Iowa State University Extension. The soil surface must not be allowed to dry out until the seedlings are established.
Once the new grass reaches a height of 1-2 inches, watering frequency can be gradually reduced, but the duration should be increased to encourage deep root growth. Mowing can begin when the new grass is about one-third taller than the desired final mowing height. It is critical to use a mower with a sharp blade, as a dull blade can tear the young grass plants, making them susceptible to disease.
Looking Ahead: Maintaining a Healthy Lawn
A renovated lawn requires consistent care to maintain its vigor. This includes a regular fertilization schedule tailored to the grass type, proper mowing height, and monitoring for pests and diseases. By following an expert-backed lawn renovation guide using grass seed, homeowners can successfully transform a struggling patch of turf into a durable and beautiful landscape. The initial investment of time and effort pays dividends in the form of a healthy lawn that can be enjoyed for years to come.
How to Plant Grass Seed on an Existing Lawn: A Complete Tutorial for Lawn Repair and Enhancement
