There’s a quiet melancholy that settles over the garden in autumn. As the air chills and the days shorten, we bid farewell to the riotous color of summer, most notably the cheerful, stalwart geranium. For many, these vibrant plants are treated as annuals, destined for the compost pile after the first frost. But what if I told you that their story doesn’t have to end there? The secret to overwintering geraniums is one of the most rewarding skills a gardener can learn, transforming these supposed one-season wonders into treasured, long-term residents.
With just a little autumn effort, you can save your favorite plants from the cold, ensuring they return next spring stronger, larger, and more magnificent than ever before. Let’s explore the simple techniques to give your geraniums a second life.
Quick Tips for Success
Short on time? Here’s the secret to saving your geraniums this winter:
- Act Before Frost: Bring your plants indoors before the first hard frost nips their leaves.
- Choose Your Method: Decide whether you’ll grow them as sunny houseplants or store them dormant in a cool, dark place.
- Prune with Purpose: Cut plants back by at least half to encourage compact, bushy growth and reduce the risk of disease.
- Go Easy on Water: Whether dormant or as a houseplant, too much water is the number one enemy during winter.
Why Bother Overwintering Geraniums?
It’s a fair question. When you can easily buy new plants each spring, why go to the trouble? First, it’s important to know that the common “geraniums” we love are technically Pelargoniums, which are tender perennials native to South Africa. They aren’t genetically programmed to die after one season, only to succumb to freezing temperatures they aren’t built for.
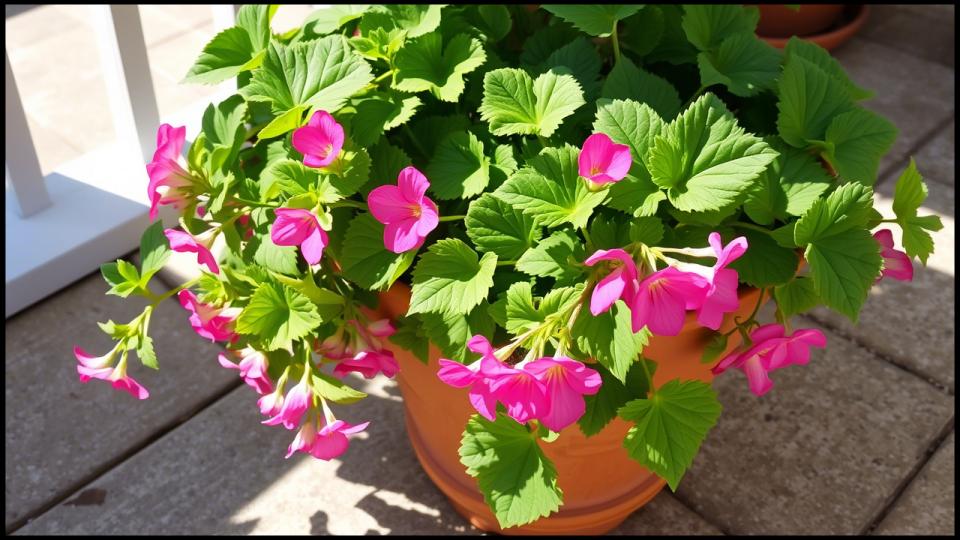
By overwintering geraniums, you’re not just saving a few dollars; you’re investing in the future of your garden. A mature, overwintered plant has a robust root system that allows it to establish much more quickly in the spring, leading to a bigger and earlier display of blooms. Furthermore, it allows you to preserve a variety you particularly love—perhaps one with a unique color, a heavenly scent, or one passed down from a friend. In my own garden, I always make a point to save my ivy-leaf geraniums; their cascading performance from a second-year plant is simply unmatched by a new starter.

Preparation is Key: Timing the Transition
Your success begins with timing. Start monitoring the forecast as autumn deepens and plan to act before the first hard frost—when temperatures dip below 32°F (0°C) for several hours. A light frost won’t kill them, but you want to bring them in while they are still healthy and unstressed.
Before they cross the threshold, give your plants a thorough inspection. Look for any unwelcome hitchhikers like aphids, spider mites, or whiteflies, paying close attention to the undersides of leaves. If you spot any, it’s best to treat them now with a gentle insecticidal soap, following the package directions. According to horticultural experts, dealing with pests outdoors is far easier than battling an infestation inside.
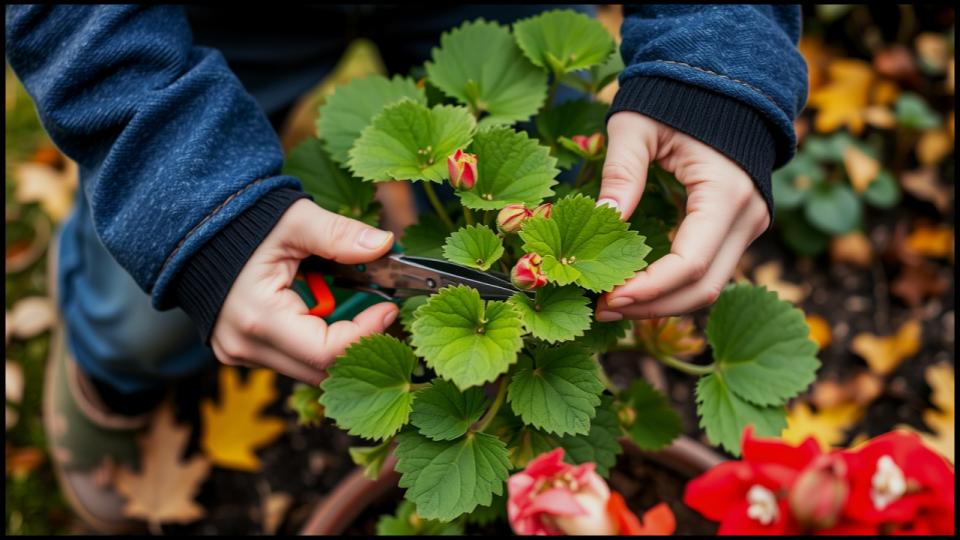
Finally, give your plants a significant haircut. Using clean, sharp shears, prune each plant back by about half to two-thirds. This may feel drastic, but it reduces the amount of energy the plant needs to sustain itself over winter, encourages dormant buds to sprout in the spring, and removes any leggy, weak growth.
Method 1: The Greenhouse Method (As a Houseplant)
If you have a bright, sunny window, you can trick your geraniums into thinking they’re on a mild winter holiday. This method keeps them green and living, and they may even reward you with a few flowers.
Step-by-Step: Potting and Care
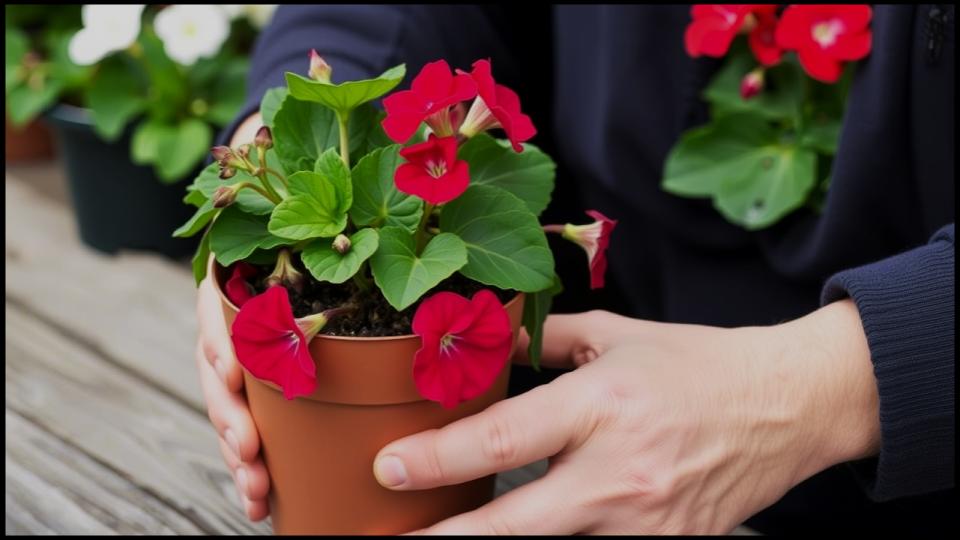
- Select & Pot: Choose your healthiest, most compact plants. If they’re in the ground or a large container, carefully dig them up and plant them in a clean pot (6 to 8 inches is usually sufficient) with fresh, all-purpose potting mix.
- Water In: Water the pot thoroughly until it drains from the bottom, then place it on a saucer.
- Find the Sun: Place your potted geranium in the sunniest window you have. A south-facing window is the absolute best, as they need several hours of direct light each day to thrive. A common mistake I see is placing them in a low-light corner, which leads to weak, spindly plants.
- Rethink Your Watering: This is crucial for caring for geraniums indoors. Allow the soil to dry out completely between waterings. When you do water, do so thoroughly, but then let it be. For most homes, this may mean watering only once every two to three weeks.
- Hold the Fertilizer: Your geranium is in a resting phase, so there’s no need to feed it until you see signs of vigorous new growth in late winter or early spring.

Tools and Materials You’ll Need
- Sharp Pruning Shears: Ensures clean cuts that heal quickly.
- Garden Trowel or Fork: For gently lifting plants from the ground.
- Clean Pots (6-8 inch): Make sure they have excellent drainage holes.
- All-Purpose Potting Mix: Fresh mix is sterile and provides a clean start.
- Insecticidal Soap: A must-have for pre-emptive pest control.
- Paper Bags or a Cardboard Box: Essential for the dormant storage method. ]
Method 2: The Dormant Method (Bare-Root Storage)
No sunny window? No problem. This classic technique for dormant geranium storage is brilliantly low-effort and requires only a cool, dark space. You are essentially putting the plants to sleep for the winter.
Step-by-Step: A Long Winter’s Nap
- Dig and Shake: After a final inspection and pruning, carefully dig up your chosen geraniums. Gently shake and knock off all the soil from the roots. I find a gentle bounce on a spread-out newspaper works wonders to dislodge stubborn soil without damaging the delicate root hairs.
- Cure the Roots: Place the bare-root plants on a newspaper in a shady, airy spot for a few days to allow the roots to dry out slightly.
- Bag or Box Them Up: Place the individual plants inside a paper bag or lay them side-by-side in a cardboard box, ensuring they have some air circulation. Some gardeners even hang them upside down from rafters.
- Find a Cold Room: Store the box in a cool, dark, and humid-but-not-damp location. As recommended by the Iowa State University Extension, the ideal temperature for dormant geranium storage is between 45-50°F (7-10°C). An unheated basement, an attached garage, or a cellar is perfect.
- Monthly Check-Up: Once a month, check on your sleeping beauties. The stems should remain firm. If they appear overly shriveled, remove them from the bag, soak the roots in a bucket of water for one to two hours, let them air dry for a day, and then return them to storage.
Waking Them Up for Spring
The grand re-awakening should happen about six to eight weeks before your area’s last expected frost date.
- For Potted Houseplants: Give them another light pruning to shape them up. Begin watering a bit more frequently and start feeding them with a balanced liquid fertilizer at half-strength every few weeks.
- For Dormant Plants: It’s time to resurrect them. As detailed by the University of New Hampshire Extension, you should first prune them quite hard. Cut away any stems that are soft, mushy, or completely dried out, leaving only the firmest, greenest parts. Pot these pruned plants into fresh potting soil, water them well, and place them in a spot with bright, indirect light. In a few weeks, you should be rewarded with the first signs of new green growth.
Once your plants are actively growing and the danger of frost has passed, don’t forget to “harden them off” by gradually re-introducing them to outdoor conditions over a week or two before planting them in their summer homes.
A Promise of a More Colorful Tomorrow
The practice of overwintering geraniums connects us more deeply to the lifecycle of our gardens. It’s a simple act of stewardship that pays dividends in beauty, abundance, and the quiet satisfaction of seeing a cherished plant thrive under your care. Whether you choose to line a windowsill with their greenery or tuck them away for a long winter’s nap, you’re setting the stage for your most vibrant and rewarding garden season yet.
Read More
7 Plants You Must Prune in April for Explosive Spring and Summer Blooms
