Cultivating juicy, sweet watermelons at home begins with understanding the fundamentals of how to plant watermelon seeds correctly. This process, accessible to even novice gardeners, hinges on timely planting, proper soil preparation, and consistent care. With expert guidance, turning tiny seeds into a delicious summer treat is an achievable goal for gardens in suitable climates.

Key Steps for Successful Watermelon Cultivation
| Key Step | Detail |
| Optimal Soil Temperature | Soil must be at least 65-70°F (18-21°C) before planting seeds directly outdoors. |
| Planting Depth & Spacing | Sow seeds 1 to 1.5 inches deep. Plant in mounds spaced at least 4-6 feet apart. |
| Watering Regimen | Provide 1-2 inches of water per week, ensuring deep, infrequent watering. |
| Time to Harvest | Most varieties mature in 70-90 days after planting from seed. |
Preparing for a Successful Planting
A successful watermelon harvest is built on a foundation of suitable soil and proper timing. Watermelons are heavy feeders and require nutrient-rich, well-draining soil to thrive.
Choosing the Right Location and Soil
Watermelons demand a location that receives full sun, meaning at least six to eight hours of direct sunlight per day. According to the Utah State University Extension, the ideal soil is a sandy loam that drains well, preventing water from pooling around the roots, which can lead to rot.
Before planting, experts recommend amending the soil. “Incorporate organic matter and a complete fertilizer into the area before planting,” advises the Utah State University Extension. A soil test can provide specific information on nutrient deficiencies, but a general practice is to work a few inches of well-composted organic matter into the top six inches of soil. The ideal soil pH for watermelons is slightly acidic to neutral, ranging from 6.0 to 6.8.
When to Plant: Timing is Everything
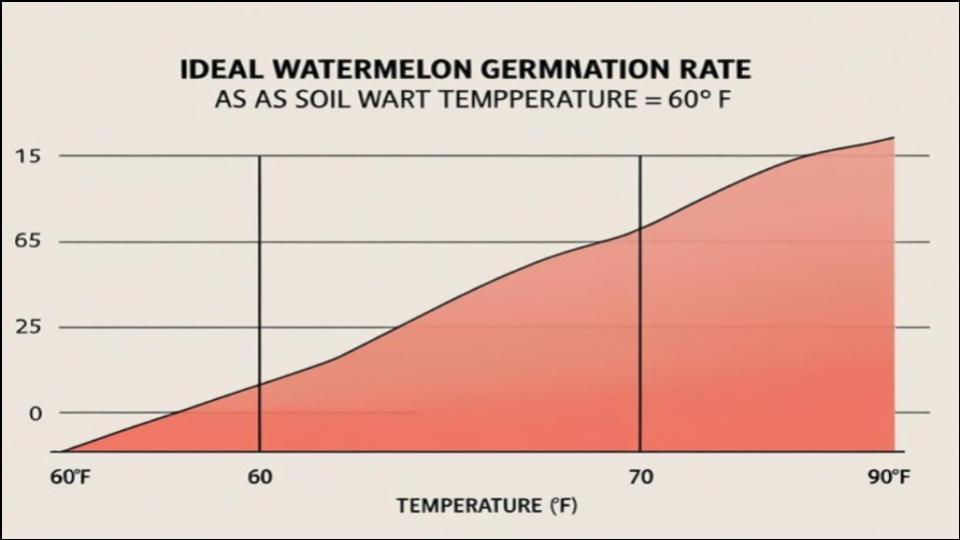
The most critical factor for germination is soil temperature. Planting too early in cold, damp soil can cause seeds to rot. “Plant watermelon when soils are 65°F or after all danger of frost has passed,” is the guidance from horticulturalists at Utah State. For many regions, this means waiting until two to three weeks after the last expected spring frost.
Gardeners in cooler climates with shorter growing seasons may benefit from starting seeds indoors. “Start watermelon seed indoors 3 to 4 weeks before transplanting seedlings to the garden,” suggests Harvest to Table, a comprehensive gardening resource. This head start allows the plants to be a viable size when the outdoor soil is finally warm enough.

The Process of Planting Watermelon Seeds
Once the soil is prepared and the timing is right, the actual planting can begin. Gardeners can choose between direct sowing into the garden or transplanting seedlings that were started indoors.
Direct Sowing in the Garden
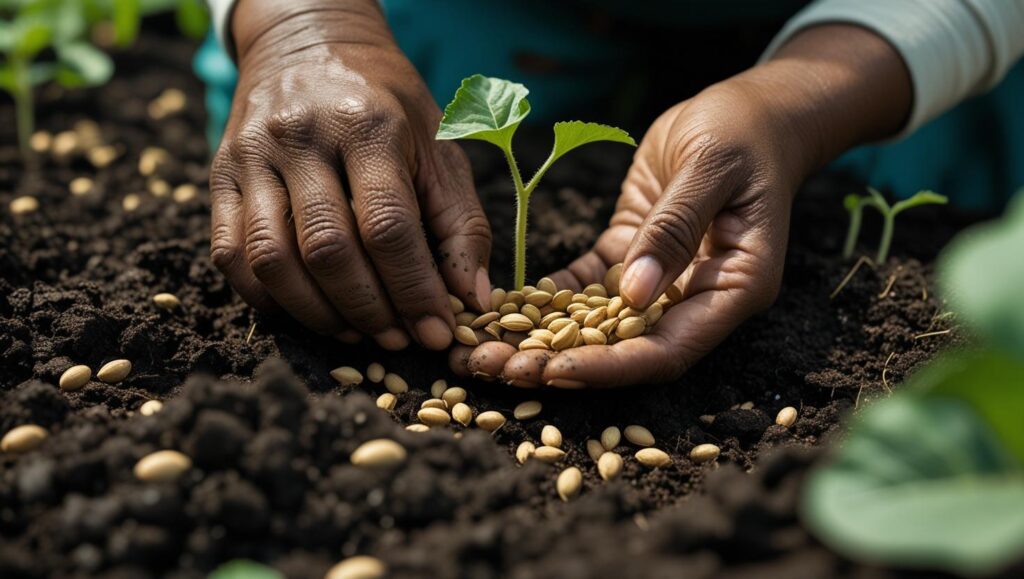
Direct sowing is the simplest method for those in warmer climates. The University of Illinois Extension recommends a planting technique using small hills or mounds. These mounds of soil warm up faster than the surrounding ground and provide good drainage.
“Plant 4-6 seeds in mounds 4 feet apart. After they have two leaves, thin to 2 plants per mound,” the Utah State University Extension service recommends. Seeds should be planted about one inch deep. This spacing is crucial, as watermelon vines are extensive and require ample room to spread. Overcrowding can lead to poor air circulation, which encourages fungal diseases, and increased competition for water and nutrients.
Starting Seeds Indoors
For regions with short growing seasons, starting seeds indoors is a strategic advantage. This method gives the plants a crucial head start.
Use biodegradable peat pots that can be planted directly into the ground to minimize transplant shock, as watermelon plants have sensitive root systems. Sow two to three seeds per pot and place them in a warm, sunny location, or under a grow light. The ideal indoor temperature for germination is between 80-90°F (27-32°C), according to Harvest to Table. Once the seedlings have developed their first true leaves, thin them to the strongest plant in each pot.
Transplant the seedlings into the garden on a calm, overcast day to reduce stress on the young plants. Handle the roots with care and plant the entire biodegradable pot into the prepared mounds.
Care and Growth: From Seedling to Fruit
Watering, Mulching, and Fertilizing
Consistent moisture is vital, especially during the initial growth stages and when the fruit is developing. The Oregon State University Extension advises providing one to two inches of water per week through deep, infrequent watering sessions. This encourages the roots to grow deeper into the soil. Drip irrigation is an effective method as it delivers water directly to the base of the plant and reduces water on the leaves, which can help prevent fungal diseases. It is often recommended to reduce watering as the fruits approach ripeness to concentrate the sugars and improve flavor.
Mulching with black plastic or organic materials like straw can be highly beneficial. “Black plastic mulch warms the soil, conserves water, and helps control weeds,” notes the Utah State University Extension. Organic mulches also help retain soil moisture and suppress weeds but should only be applied after the soil has warmed to at least 75°F (24°C).
About the time the vines start to develop runners, a side dressing of nitrogen fertilizer can promote healthy growth. However, excessive nitrogen can lead to lush vine growth at the expense of fruit production.

Managing Pests and Diseases
Watermelons can be susceptible to several pests and diseases. Common pests include aphids, which suck sap from the leaves, and cucumber beetles, which can damage leaves, stems, and transmit bacterial wilt. According to the National Horticulture Board of India, early detection and management are key. Floating row covers can protect young plants, and beneficial insects like ladybugs can help control aphid populations.
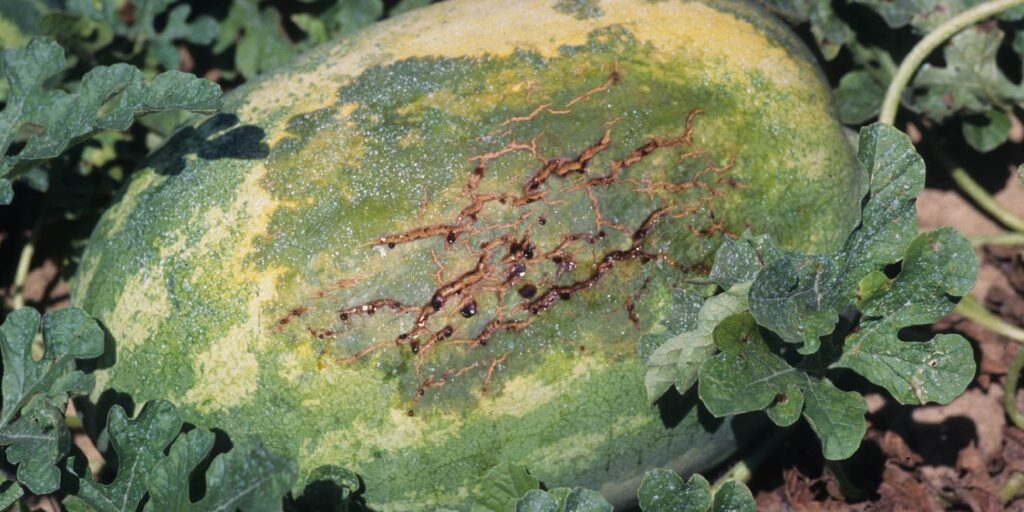
Fungal diseases such as powdery mildew and fusarium wilt are also concerns. Powdery mildew appears as white, powdery spots on leaves, while fusarium wilt causes the plant to wilt and die. To mitigate these risks, ensure good air circulation through proper spacing, avoid overhead watering, and practice crop rotation, meaning you do not plant watermelons in the same spot where other cucurbits (like cucumbers or squash) have grown in the past few years.
Harvesting Your Watermelon
Knowing when to harvest is the final step to enjoying your homegrown treat. A ripe watermelon will exhibit several key signs. Look for a creamy yellow patch on the underside of the melon where it rested on the ground. The tendril closest to the fruit’s stem will often dry up and turn brown. Finally, the melon’s skin will become dull in appearance. Thumping the melon is a popular but less reliable method; a ripe melon should produce a low, hollow sound.
When harvesting, use a sharp knife or pruning shears to cut the melon from the vine, leaving about two inches of stem attached. This “handle” can help extend the fruit’s storage life.
Mexico Solidifies Lead as World’s Top Avocado Exporter Amidst Growing Global Demand
Jamaica Solidifies Its Position as the World’s Leading Ackee Producer
