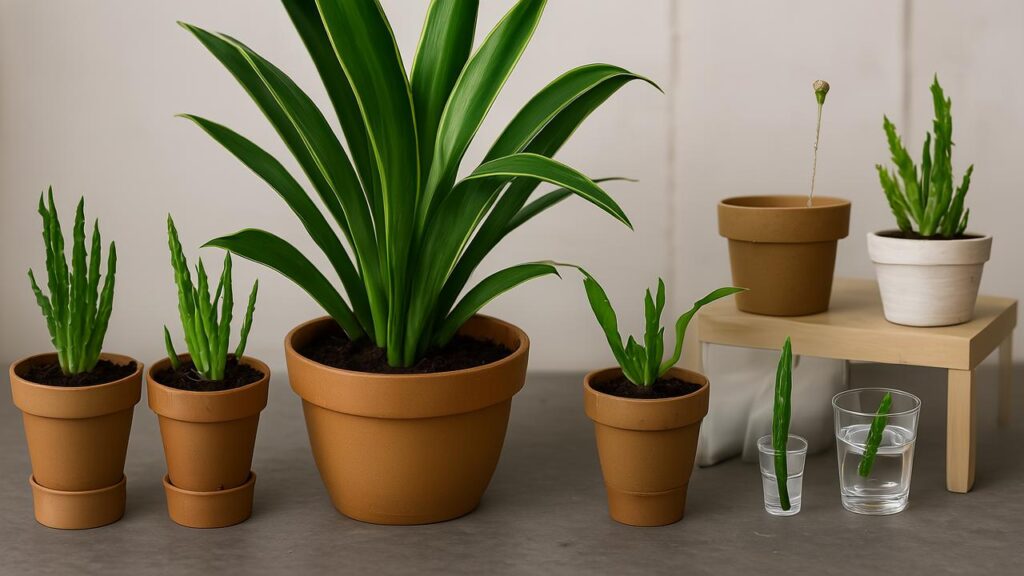
For horticultural enthusiasts and homeowners alike, learning how to propagate a snake plant offers a sustainable and cost-effective way to multiply this popular, low-maintenance houseplant. The process, achievable through several reliable methods, relies on the plant’s natural ability to regenerate from its leaves and root structure, making it an accessible project for even novice gardeners.

Key Propagation Methods at a Glance
| Method | Time to Rooting (Approx.) | Difficulty | Preserves Variegation? |
| Leaf Cuttings in Water | 4-8 weeks | Low | No |
| Leaf Cuttings in Soil | 6-10 weeks | Low | No |
| Division | Immediate (Established) | Medium | Yes |
Understanding Sansevieria Propagation
The snake plant, botanically known as Dracaena trifasciata (formerly Sansevieria trifasciata), is renowned for its resilience and air-purifying qualities. Its ability to be propagated is a key feature, allowing growers to create new plants from a single parent. The primary techniques involve taking leaf cuttings or dividing the plant at its root level.
According to experts at the Iowa State University Extension, early spring is an ideal time for propagation, as the plant is entering its active growth period. However, most houseplants like the snake plant can be propagated successfully at any time of year with proper care.
How to Propagate a Snake Plant Using Leaf Cuttings
This is the most common method and can be performed using either water or soil as the rooting medium. It is important to note that this technique may not preserve the unique variegation (like the yellow edges of the ‘Laurentii’ cultivar); new growth typically reverts to a solid green color, as explained by horticultural guides from Better Homes & Gardens.

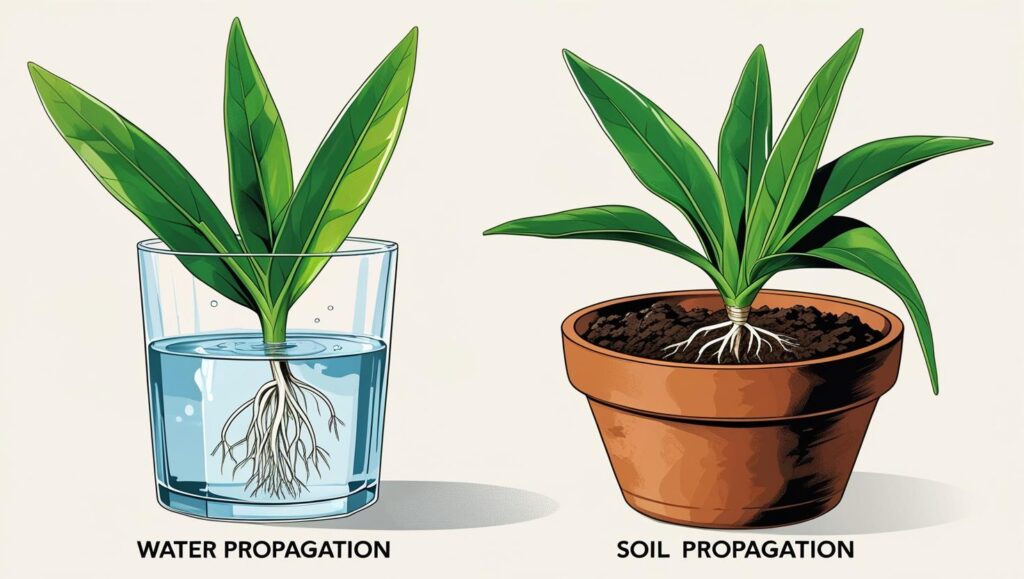
Rooting Leaf Cuttings in Water
Propagating in water allows for clear observation of root development.
- Select a Healthy Leaf: Choose a mature, healthy leaf and, using a clean, sharp knife or shears, cut it from the base of the plant.
- Prepare the Cutting: You can use the entire leaf or cut it into sections of 3-4 inches. To avoid confusion, some gardeners make a small notch or an angled cut at the top of each section to remember which end is the bottom. A cutting planted upside down will not root.
- Submerge the Cutting: Place the bottom end of the leaf cutting into a jar or glass with 1-2 inches of clean, room-temperature water. Ensure the container is tall enough to support the cutting.
- Provide Care: Position the jar in a location with bright, indirect light. To prevent bacterial growth, change the water every few days or at least once a week.
- Wait for Roots: Roots typically begin to appear in four to eight weeks. Once the roots are at least one inch long, the cutting is ready to be transplanted into soil.
Rooting Leaf Cuttings in Soil
This method transitions the new plant directly into its long-term environment.
- Prepare the Cuttings: Follow the same procedure as for water propagation to select and cut a healthy leaf.
- Allow to Callus: A critical step for soil propagation is to let the cut end of the leaf dry and form a callus. According to Epic Gardening, this takes two to three days and significantly reduces the risk of rot when the cutting is planted.
- Plant the Cutting: Dip the callused end in rooting hormone powder, an optional step that can encourage faster root development. Insert the cutting about one to two inches deep into a pot filled with a well-draining potting mix, such as a succulent or cactus mix.
- Maintain Conditions: Place the pot in bright, indirect light. Keep the soil lightly moist but avoid overwatering, as this is the primary cause of failure. Resistance when gently tugging the cutting after several weeks indicates successful rooting.
Propagation by Division
Division is the most reliable method for creating a new plant that is identical to the parent, including any special variegation. This technique is best suited for mature plants that have produced offshoots, or “pups.”
“Division is the best way to propagate snake plants that have grown very big,” advises Megan Hughes, a horticultural expert featured in Better Homes & Gardens.
- Remove the Plant: Carefully take the entire snake plant out of its pot. This is often easiest when the soil is dry.
- Separate the Rhizomes: Gently brush away soil to expose the root structure, which is a network of thick rhizomes. Identify natural clumps or pups that have their own set of leaves and some roots.
- Cut and Divide: Using a clean, sharp knife, cut through the rhizomes to separate the sections you wish to replant. The Penn State Extension recommends ensuring each new division has at least three leaves and an established root system.
- Repot the Divisions: Plant each new section into its own pot with fresh, well-draining soil. The pot should be appropriately sized to be snug around the root ball, as snake plants often thrive when slightly root-bound.
- Post-Division Care: Water the newly potted divisions thoroughly, allowing excess water to drain completely. Place them in bright, indirect light and care for them as you would a mature plant.
Common Challenges and Solutions
The most significant risk during snake plant propagation is rot, caused by excess moisture. Whether rooting in water or soil, it is crucial to avoid oversaturation. In water, this means frequent water changes. In soil, it requires a well-draining medium and waiting for the soil to dry out between waterings.
Patience is also key. Snake plants are slow growers, and it can take two months or more before significant root or new shoot development is visible. Providing consistent, bright, indirect light and warm temperatures (ideally 70-90°F or 21-32°C) will create the optimal environment for success.
For those expanding their collection, the reward is a set of new, resilient houseplants that can thrive for years with minimal care, continuing the cycle of growth and potential future propagation.
The Gardener’s Guide: How to Cut Basil Leaves from a Plant for a Bushier, More Productive Harvest
