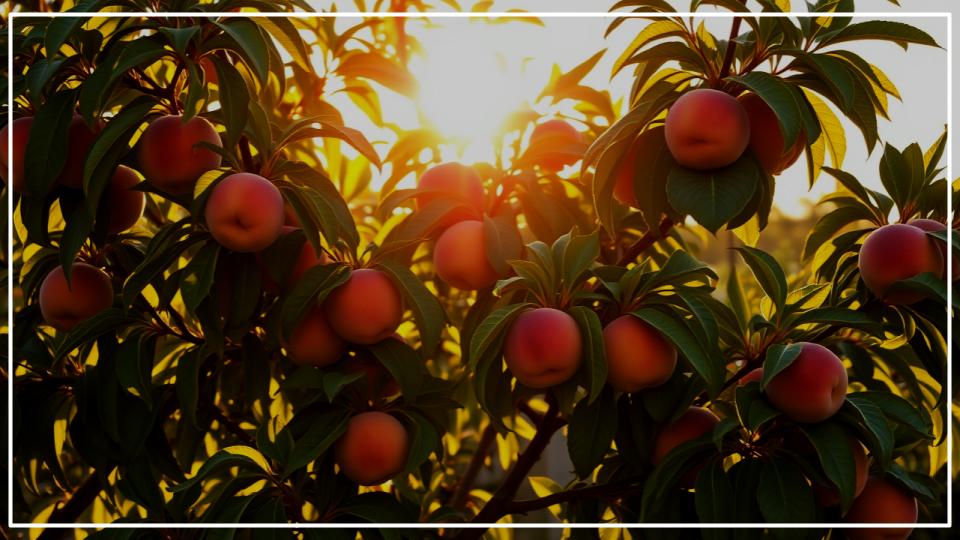
There is a certain magic to walking into your own garden on a warm summer day and plucking a perfectly ripe, sun-warmed peach straight from the branch. That delightful experience, however, doesn’t happen by chance. It begins months earlier, on a crisp late-winter day, with a pair of sharp shears and a little bit of knowledge. Learning how to prune a peach tree is perhaps the single most important thing you can do to ensure a bountiful harvest. It’s a conversation with your tree—a way to guide its energy, promote its health, and ultimately, coax it into producing the most magnificent fruit imaginable.
This guide will demystify the process, transforming what might seem like a daunting task into a rewarding annual ritual. We’ll walk through the essential steps, from understanding the why and when to mastering the art of the perfect cut.
Key Takeaways for a Perfect Prune
Short on time? Here are the absolute essentials for successfully pruning your peach tree:
- Prune Late: Always prune in late winter or early spring, just before the buds swell but after the harshest cold has passed. Pruning too early can risk frost damage.
- Think “Vase”: The goal for most peach trees is an open center pruning or “vase” shape. This allows sunlight and air to penetrate the entire tree, which is crucial for fruit development and disease prevention.
- Know Your Wood: Peaches only fruit on one-year-old wood, which is typically reddish in color. Your primary goal is to remove old, unproductive wood and encourage the growth of new fruiting wood.
- The Three D’s First: Always begin by removing any wood that is Dead, Damaged, or Diseased.
Why Pruning Your Peach Tree is an Act of Love (and Science)
Before we snip a single branch, it’s important to understand why we’re doing it. Pruning isn’t about punishing your tree; it’s about nurturing it. A wild, unpruned peach tree will produce a lot of dense, leafy growth and a crop of small, often disappointing, fruit.
Thoughtful pruning corrects this by achieving three key goals:
- Maximizing Fruit Production: By removing competing branches, you concentrate the tree’s energy into producing larger, higher-quality fruit on the remaining branches. As the Alabama Cooperative Extension System points out, proper pruning directly impacts fruit size and can reduce the labor-intensive work of thinning fruit later in the season.
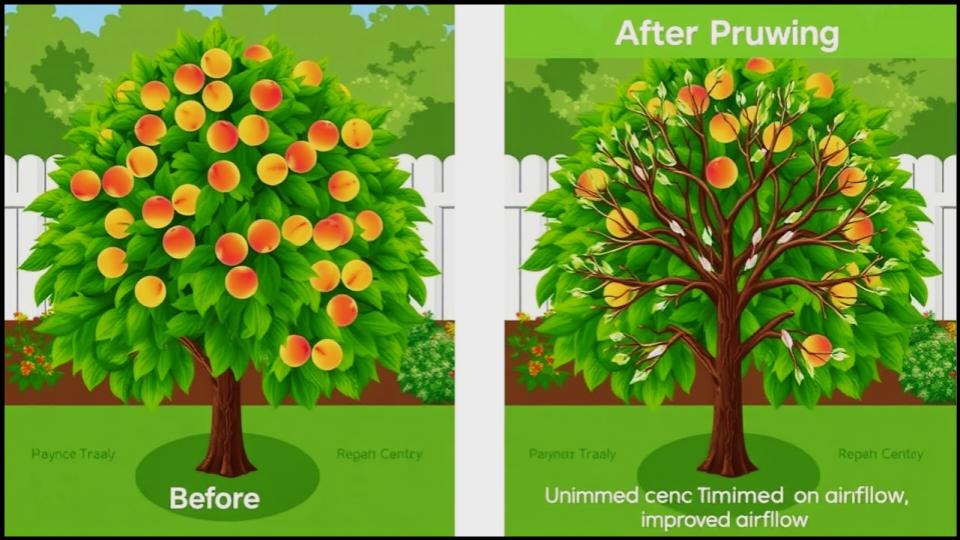
- Improving Tree Health: Creating an open structure increases air circulation, which is vital for preventing common fungal diseases like brown rot. Sunlight can penetrate the canopy, reach all the leaves and developing fruit.
- Encouraging New Growth: Peaches bear fruit on wood that grew during the previous season. I’ve seen many gardeners become frustrated with a lack of fruit, not realizing their tree is full of old, gray, non-fruiting wood. Pruning stimulates the tree to produce the fresh, reddish, one-year-old shoots that will carry next year’s crop.
The Golden Rule: Timing Your Pruning Perfectly
When it comes to when to prune peach trees, timing is everything. Resist the urge to tidy up your tree in the fall. Pruning stimulates growth, and any new shoots that emerge in autumn won’t have time to harden off before the first frost, making them vulnerable to winter damage.
The ideal time to prune is in late winter or early spring, typically February or March in most climates. According to Oklahoma State University, it’s even better to wait until just before bloom. This late timing minimizes the risk of winter injury to fresh cuts and allows you to assess which flower buds have survived the cold. If a late frost has damaged some buds, you can prune less severely to compensate.
Gathering Your Tools: Precision for a Healthier Tree
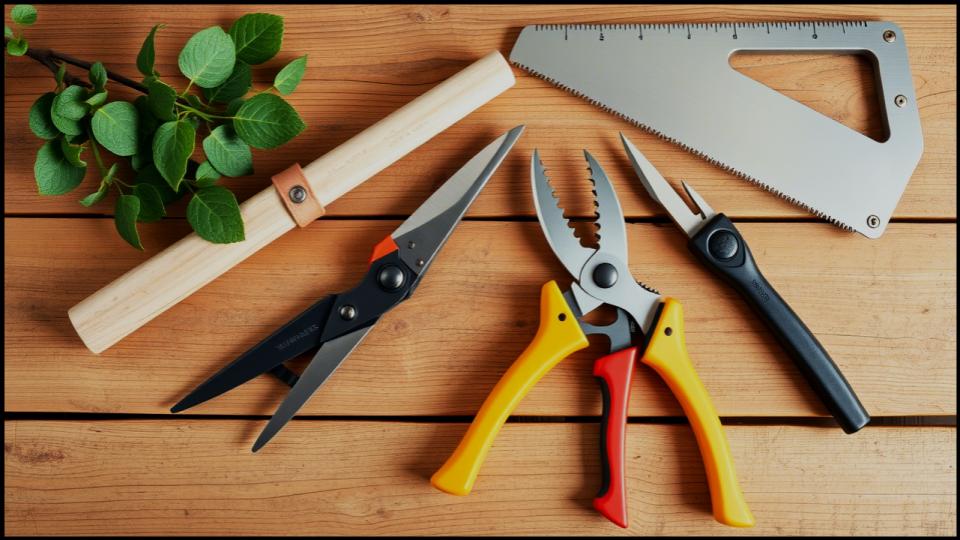
Using the right tools is not just easier for you; it’s essential for the health of your tree. Clean, sharp cuts heal faster and are less susceptible to disease. Before you begin, I always take a moment to wipe my tools down with rubbing alcohol or a 10% bleach solution, especially if I’m moving from one tree to another.
TOOLS AND MATERIALS BOX:
- Bypass Pruners: For clean cuts on small branches up to ¾-inch in diameter. Unlike anvil pruners that crush, bypass pruners make a clean slicing motion.
- Loppers: These are essentially long-handled bypass pruners, giving you the leverage needed for branches between ¾-inch and 1 ½ inches thick.
- Pruning Saw: A small, curved saw is indispensable for removing larger limbs (over 1 ½ inches). Its sharp teeth cut on the pull stroke, giving you excellent control.
- Disinfectant: Rubbing alcohol or a diluted bleach solution to clean your tools before and after your work.]

The Art of the Cut: Mastering Open Center Pruning Step-by-Step
The most common and effective method for pruning peach trees for fruit is the open center pruning system, also known as a vase shape. The goal is to remove the central leader (the main upward-growing trunk) to create a bowl-like structure of 3 to 5 main scaffold limbs.
Step 1: The Initial Assessment
Before making a single cut, walk around your tree. Observe its overall shape. Identify the 3 to 5 strongest, best-placed branches that radiate out from the trunk at a good angle (about 45 to 60 degrees). These will be your main “scaffold” limbs that form the vase. Everything else is a candidate for removal.
Step 2: Remove the Three D’s and Undesirables
Your first cuts are for health and hygiene. Methodically remove:
- Dead, Damaged, and Diseased Wood: This wood is often brittle, discolored, or has sunken areas (cankers). Cut it back to healthy, living tissue.
- Suckers: These are vigorous shoots growing from the base of the trunk or the roots.
- Watersprouts: These are fast-growing, vertical shoots that erupt from the main scaffold branches. They are unproductive and shade the interior of the tree.
Step 3: Establish the Open Vase
Now, the structural work begins. The key is to open up the center of the tree to light and air.
- Remove the Center: Cut out any large branches growing upright in the center of the tree. This is the most crucial step for creating that vase shape.
- Eliminate Competition: Remove any branches that are crossing or rubbing against your chosen scaffold limbs.
- Prune Downward-Facing Branches: Branches that grow downwards will be shaded and produce poor-quality fruit. Remove them.

Step 4: Thinning for Light and Encouraging Fruiting Wood
With your main structure established, it’s time for the finer details. Remember, peaches fruit on one-year-old wood, which you can identify by its reddish bark.
- Select for Spacing: On your main scaffold limbs, you’ll see last year’s reddish shoots. Thin them out so they are spaced about 6-10 inches apart, choosing the healthiest ones. A common mistake I see is leaving too much fruiting wood, which leads to an over-abundance of small peaches and potential branch breakage.
- Shorten Fruiting Wood: According to the Clemson Cooperative Extension, desirable fruiting wood is about the diameter of a pencil and 12-18 inches long. It’s good practice to shorten these shoots by about one-third, making your cut just above an outward-facing bud. This encourages the branch to grow out, not in, and helps it support the weight of the fruit.
Common Pruning Mistakes to Avoid
- Pruning Too Timidly: Peaches are vigorous growers and require a heavy hand. Removing 40-50% of the tree during dormant pruning is often necessary for mature trees. It feels drastic, but the tree will respond with healthy, productive growth.
- Leaving Stubs: When removing a branch, cut it back cleanly to its point of origin at the branch collar (the slightly swollen area where the branch joins a larger limb). Leaving a stub invites decay and disease.
- “Lion’s Tailing”: This is when all the interior shoots are stripped from a branch, leaving only a tuft of foliage at the end. This weakens the branch and exposes it to sunburn.
- Topping the Tree: Never simply chop off the top of the tree to reduce its height. Instead, lower the canopy by cutting taller branches back to a lower, outward-facing side branch.
A Promise of Summer Sweetness
As you step back and survey your work—the pile of branches on the ground, the newly elegant shape of your tree—feel a sense of accomplishment. You have just set the stage for a glorious summer performance. You’ve given your peach tree the structure, light, and air it needs to thrive. In a few short months, when you’re enjoying the sweet, juicy fruits of your labor, you’ll know that the magic truly began on this crisp, quiet day in the garden.
Read More
9 Rose-Care Mistakes Even Experienced Gardeners Make—Fix Them Fast
