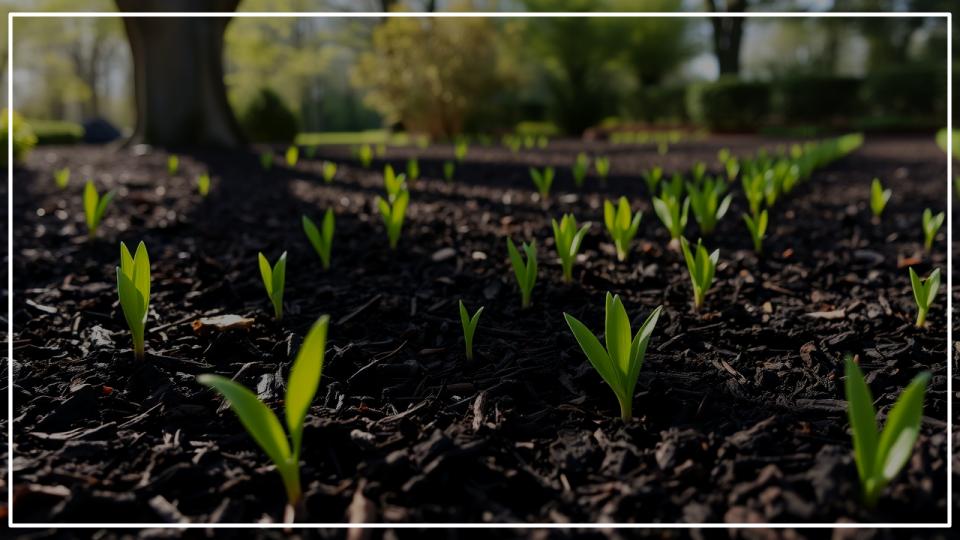
That first walk through the garden as the winter chill finally recedes is a moment of pure potential. It’s a time filled with the scent of damp earth and the promise of renewal. But it can also be a moment of apprehension as we survey the effects of a long, cold season. You might see flattened perennials, broken branches, or a lawn that looks more sad than lush. This is the starting point for every spring garden recovery—a process that is less about daunting chores and more about a joyful partnership with nature’s rebound. This guide will walk you through eight essential steps to gracefully erase winter garden damage and coax your landscape back to life, ensuring it’s not just surviving, but positioned to truly thrive.
Let’s begin the beautiful work of waking up the garden.
Key Takeaways
Here are the foundational steps to your garden’s comeback:
- Be Patient: Don’t be too quick to prune or remove plants. Some are just slow to wake up. Give them a few weeks of warmer weather to show signs of life.
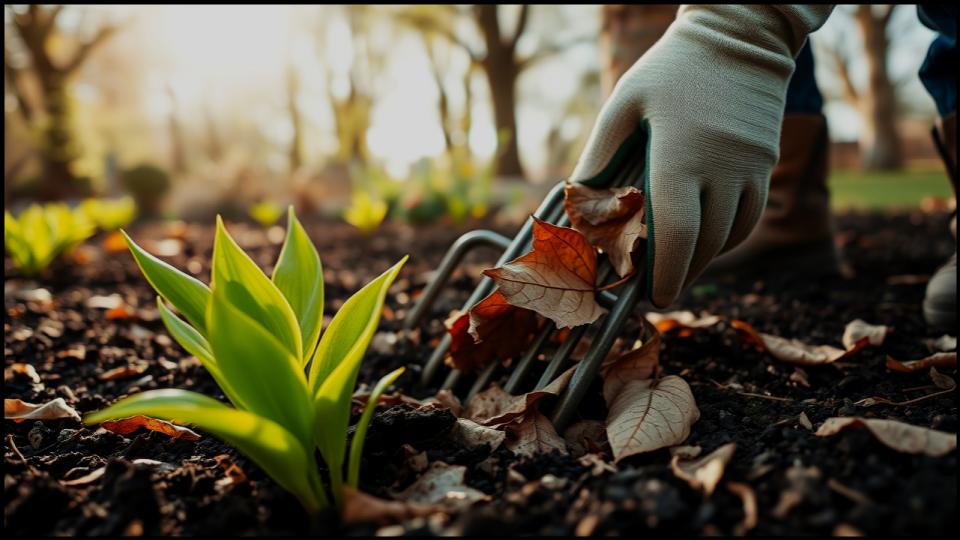
- Clean & Tidy: Rake away dead leaves and debris to prevent disease and allow sunlight and air to reach the soil and plant crowns.
- Prune with Precision: Remove anything that is clearly dead, damaged, or diseased to direct the plant’s energy toward healthy new growth.
- Feed the Soil: Replenish tired earth with a generous layer of compost or a balanced organic fertilizer to fuel the season’s growth.
The Art of a Patient Assessment
Before you grab a single tool, the most important thing you can do is simply walk and observe. The eagerness to “fix” everything at once can lead to hasty mistakes, like pulling a perennial that’s merely dormant, not dead. In my own garden, I make it a ritual to walk the grounds with a cup of coffee every few days as the snow melts, simply taking notes.
Look for signs of frost heave, where the freeze-thaw cycle has pushed plants like coral bells (Heuchera) or Shasta daisies (Leucanthemum superbum) partially out of the ground. Gently press them back into the soil to protect their exposed roots. Assess your woody shrubs and trees. To tell if a branch is alive, use your thumbnail to scratch a tiny spot on the bark. According to the N.C. Cooperative Extension, if you see green tissue underneath, it’s alive; if it’s brown and dry, it’s dead. This patient approach prevents you from discarding plants that just need a little more time to wake up.
A Clean Sweep: The Foundation of Renewal
A clean garden is a healthy garden. Winter debris—matted leaves, fallen twigs, and last year’s annual stalks—can create a haven for slugs, pests, and fungal diseases as the weather warms. A thorough cleanup is your first major step toward a fresh start.
- Rake Gently: Carefully rake away soggy leaves and old, decayed mulch from around the crowns of your perennials and bulbs. This allows for better air circulation and lets the warming sun reach the soil.
- Clear the Beds: Pull any hardy winter weeds that have taken hold. They’re much easier to remove from moist, soft spring soil.
- Remove Old Annuals: If you didn’t get to it in the fall, pull the desiccated remains of last year’s annuals, like zinnias or marigolds, and add them to your compost pile.
This initial tidying instantly makes the garden look more cared-for and sets a clean canvas for the work to come.

The Kindest Cut: Strategic Pruning for Rebirth
Pruning in early spring is a conversation with your plants. You’re tidying them up, but more importantly, you’re signaling where they should direct their precious energy.
Mastering the Art of Pruning Perennials
For herbaceous perennials and ornamental grasses that were left standing for winter interest, now is the time for a haircut. The Royal Horticultural Society advises cutting back dead stems before new growth starts in earnest.
- Herbaceous Perennials: For plants like coneflowers (Echinacea), black-eyed Susans (Rudbeckia), and hostas, cut the old, brown stems and foliage back to the ground. You’ll often see tiny green shoots of new growth at the base—be careful not to damage them.
- Ornamental Grasses: Cut grasses back to a few inches from the ground before their new blades start to shoot up through the old.
- Semi-Woody Perennials: For plants like Russian sage (Perovskia atriplicifolia) and lavender (Lavandula), wait until you see the first new buds emerge along the stems, then prune just above the lowest set of healthy new buds.
Tidying Up Trees and Shrubs
First, remove any branches that are clearly broken, dead, or rubbing against each other. For flowering shrubs, timing is everything. A common mistake I see is pruning spring-blooming shrubs like lilacs or forsythia too early, which removes the flower buds. Wait to prune those until just after they have finished blooming. Summer-flowering shrubs, like panicle hydrangeas (Hydrangea paniculata), can be pruned in early spring as they form their flower buds on new growth.
Waking Up the Lawn: From Patchy to Plush
Winter can be tough on turf, leading to compaction, dead patches, and snow mold—a gray or pinkish fuzz that appears as snow melts.
- Rake Vigorously: Once the lawn is no longer squishy, give it a hard rake to remove dead grass, debris, and any lingering snow mold. This will improve air circulation and expose the soil.
- Aerate if Necessary: If your soil is heavily compacted from foot traffic or heavy snow, consider renting a core aerator. This will pull up plugs of soil, allowing water, air, and nutrients to penetrate deeper.
- Overseed Bare Spots: For any bare or thin patches, now is an ideal time to overseed. The University of Minnesota Extension provides excellent guidance on <a href=”[suspicious link removed]” target=”_blank”>repairing damaged lawns</a>. Loosen the soil in the bare spot, scatter a high-quality grass seed appropriate for your region, and keep it consistently moist until it germinates.
Feeding the Foundation: The Power of Soil Amendment
Your soil has worked hard and is likely depleted of essential nutrients after a long season. Spring is the perfect time to give back. A generous soil amendment is arguably the single most important thing you can do for your garden’s health.
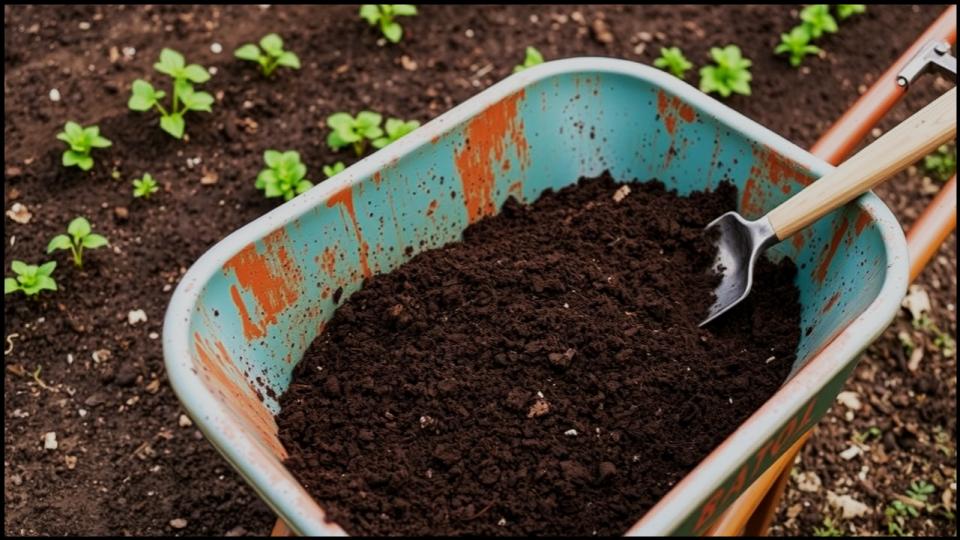
I always start by spreading a 1- to 2-inch layer of high-quality compost or well-rotted manure over all my garden beds. According to the Tilth Alliance, this single act improves soil structure, boosts microbial life, enhances water retention, and provides a slow-release source of nutrients for your plants. Gently work it into the top few inches of soil with a garden fork, being careful not to disturb the roots of emerging perennials. This isn’t just feeding the plants; it’s revitalizing the entire garden ecosystem from the ground up.

Edge of Glory: Redefining Garden Beds
Nothing creates a sense of polish and intention in a landscape quite like a crisp, clean edge. Over the winter, turfgrass inevitably creeps into your garden beds, blurring the lines. Re-establishing these edges is like putting a beautiful frame on a picture.
Using a half-moon edger or a sharp spade, cut a clean, 4- to 6-inch-deep trench along the border of your beds. You can follow a straight line for a formal look or create elegant, sweeping curves. Toss the removed turf and soil onto your compost pile. As described in Fine Gardening magazine, this simple task provides a finished look and a sense of clarity, neatly separating your lawn from your garden and preventing grass from invading your mulched areas.
Tools and Materials for Your Spring Recovery
- Bypass Pruners: For clean cuts on perennial stems and small branches. Keep them sharp and clean to prevent disease.
- Garden Rake & Leaf Rake: For clearing debris and preparing the lawn.
- Spade or Half-Moon Edger: Essential for creating those crisp, professional-looking bed edges.
- Garden Fork: Perfect for loosening soil and working in compost without overtilling.
- Wheelbarrow: Invaluable for moving compost, mulch, and yard debris.
- High-Quality Compost: The single best investment for your garden’s health.
Divide and Conquer: Multiplying Your Treasures
If you’ve noticed that some of your perennials, like hostas, daylilies (Hemerocallis), or ornamental grasses, are looking crowded or have a dead center, spring is the ideal time to divide them. The University of Minnesota Extension notes that dividing rejuvenates the plant, stimulates new growth, and is an easy way to get more plants for free.
Carefully lift the entire clump with a garden fork. Then, using two forks back-to-back, a sharp spade, or a soil knife, separate the clump into smaller sections, ensuring each has a healthy portion of roots and shoots. Discard the old, woody center and replant the vigorous outer divisions at the same depth they were originally growing. Water them in well, and you’ve just revitalized an old plant and expanded your garden.
A Gentle Start: The Right Way to Mulch for Spring
After you’ve cleaned, pruned, and amended, the final touch is a fresh layer of mulch. However, timing is key. Wait until the soil has had a chance to warm up, typically in mid-to-late spring. Mulching too early can trap the cold in the soil.
Apply a 2- to 3-inch layer of a good organic mulch like shredded bark, pine straw, or leaf mold. This will help conserve soil moisture, suppress weeds, and regulate soil temperature. A crucial tip from landscape professionals at Borst Landscape & Design is to avoid “mulch volcanoes.” Never pile mulch directly against the stems of plants or the trunks of trees, as this can lead to rot. Leave a small, mulch-free circle around the base of each plant to allow it to breathe.

A Season of Beautiful Beginnings
Your spring garden recovery is a rewarding process that bridges the quiet of winter with the exuberance of summer. By following these thoughtful steps—assessing with patience, cleaning with purpose, and nourishing your soil—you are not just repairing damage; you are actively setting the stage for a season of robust health and breathtaking beauty. Each task, from the first rake of leaves to the final spreading of mulch, is an act of care that your garden will repay a hundredfold in the weeks and months to come. Now you are ready to watch your own comeback story unfold.
Read More
Are You Making These 7 Zinnia Growing Mistakes? Here’s How to Fix Them Fast
